Hydraulic Pump Maintenance & How To
Maintenance
Maintain your Bucher DC hydraulic pump by following this timeline and instructions to ensure properly functioning equipment.
Pump Maintenance Timeline
Every Two (2) Months
-
Inspect all ground connections. Remove any corrosion or rust.
-
Inspect battery cable connections for corrosion.
-
Inspect all electrical connections at the power unit for corrosion and cleanliness. Check the tightness of nuts on the motor stud and motor solenoid.
Every Three (3) Months
-
Check oil level and fluid condition.
Every Six (6) Months
-
Inspect the condition of all electrical wiring. Wires should be free from cracks or damage to insulation.
-
Inspect the condition of the filler/breather cap. If the foam is missing or dirty, replace the cap.
Every Year
-
Change the oil yearly.
If you suspect that your pump needs more attention, review the section below on how to flush your pump.
Flush Your Pump
How to Determine If You Have Water in the Hydraulic Fluid
-
The pump does not build up pressure.
-
The hydraulic fluid appears milky or cloudy.
-
Water may freeze, impeding flow in colder climates.
Flushing Your Pump
-
Disconnect the hoses. Place the disconnected hoses into a bucket or drain pan to collect the hydraulic fluid from the cylinder.
-
Drain the cylinder. Retract and extend the cylinder until all fluid is removed. The fluid will exit through the hoses disconnected in step 1.
-
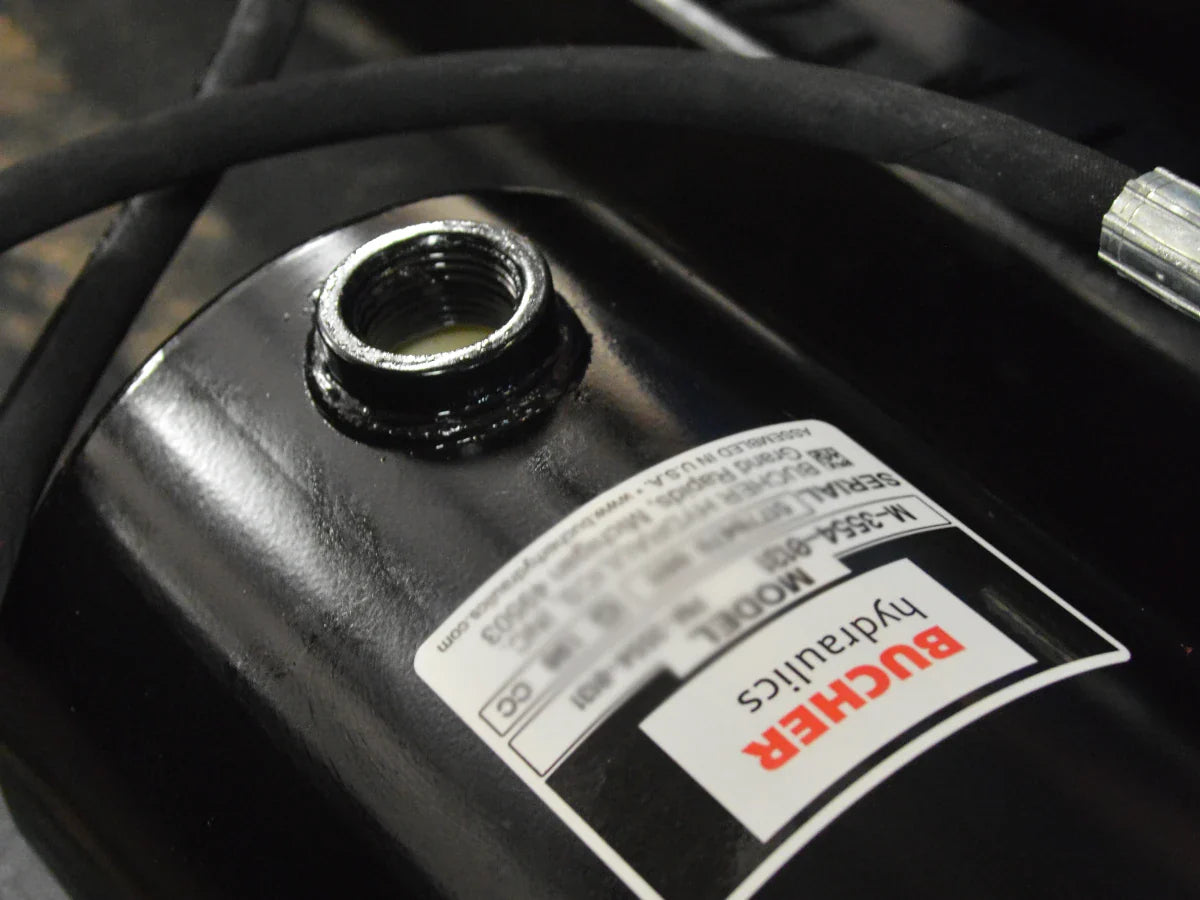
Remove the reservoir and empty the fluid. The reservoir is usually located on the pump.
-
While the reservoir is off, use a mild parts cleaner to clean the filters and the inside of the reservoir. Mild parts cleaner can be purchased at your local auto parts store.
-
Pull the valve out of the pump and clean it with parts cleaner, flushing the block. The cleaner will flow out of the tubes into your collection bucket.
-
Allow the parts cleaner to evaporate from the disassembled pump. This process takes about ten minutes.
-
Reassemble the pump, reconnect the hoses, and fill the reservoir with AW46 (hydraulic fluid) or Dexron III (automatic transmission fluid) and purge the system until it’s full. Be sure NOT to mix the two fluids. Use only one type.
Pump Solenoid Test
When your equipment isn’t working, you may wonder, "Is my solenoid bad?" Follow these step-by-step instructions to test your pump solenoid.
How to Test Your Pump Solenoid
-
Ensure the solenoid is properly grounded. Run a small 14-gauge ground wire from the ground on the pump to the screw mounting the solenoid to the motor.
-
Verify that you have 12V to the solenoid (usually the large copper terminal on the left when viewed from the rear).
-
Using a jumper wire (a 14-gauge wire, 10 inches long with alligator clips on both ends is easiest), jump from the 12V terminal on the solenoid to the activator post (the small post). You should hear a faint click.
-
With a 12V test light, check for 12V on the copper terminal that connects the solenoid to the motor (usually the copper terminal on the right when viewed from the rear). If you have 12V, the solenoid is good; if not, replace the solenoid.
Troubleshooting Tips
-
Check the fluid level in your reservoir. The reservoir should have fluid 2–3 inches from the top of the fill hole.
-
Check your wiring. Loose, frayed, or corroded wires can prevent your equipment from getting adequate power and may damage electrical parts.
-
Check your terminals. Corroded battery terminals can cause malfunctions.
If the Remote Functions Improperly
-
Disconnect the remote.
-
Use a small test wire to jump from the hot post on your solenoid to the small actuator post on your solenoid. This should raise your spears.
-
To lower your spears, use two wires. Connect both wires to the hot post on your solenoid. Connect the end of one wire to the plastic coil on the side of your pump.
-
Touch the other wire to the small actuator post on your solenoid. If your spears raise and lower properly, replace your remote.
If the Solenoid Functions Improperly
-
Disconnect your remote.
-
Use a small test wire to jump from the hot post on your solenoid to the small actuator post on your solenoid.
-
If you cannot hear a strong audible click from your solenoid, replace it.
If the Coil Functions Improperly
Usually, if your coil is not working, you will only get movement in one direction.
-
Ensure the pump is grounded.
-
Apply 12V of power directly to the contact post (the coil has only one post).
-
Use a non-magnetic screwdriver or other metal tool and attempt to stick it to the coil. If the coil is working (magnetized), the metal tool will stick to the end of the coil. If it is not working, the magnet is not getting a charge (magnetizing), and the tool will not stick to the coil.
Weatherize Your Pump
Before temperatures decrease, clean the filters and change the fluid to prevent crystallization.