


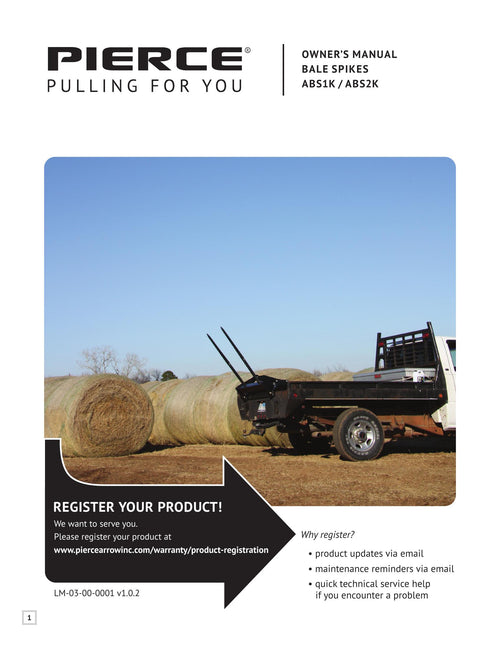
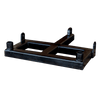
Truck Bed Gooseneck Hay Bale Mover
Save 20% on ACCESSORIES by bundling together!
Upgrades

Truck Bed Gooseneck Hay Bale Mover
Description
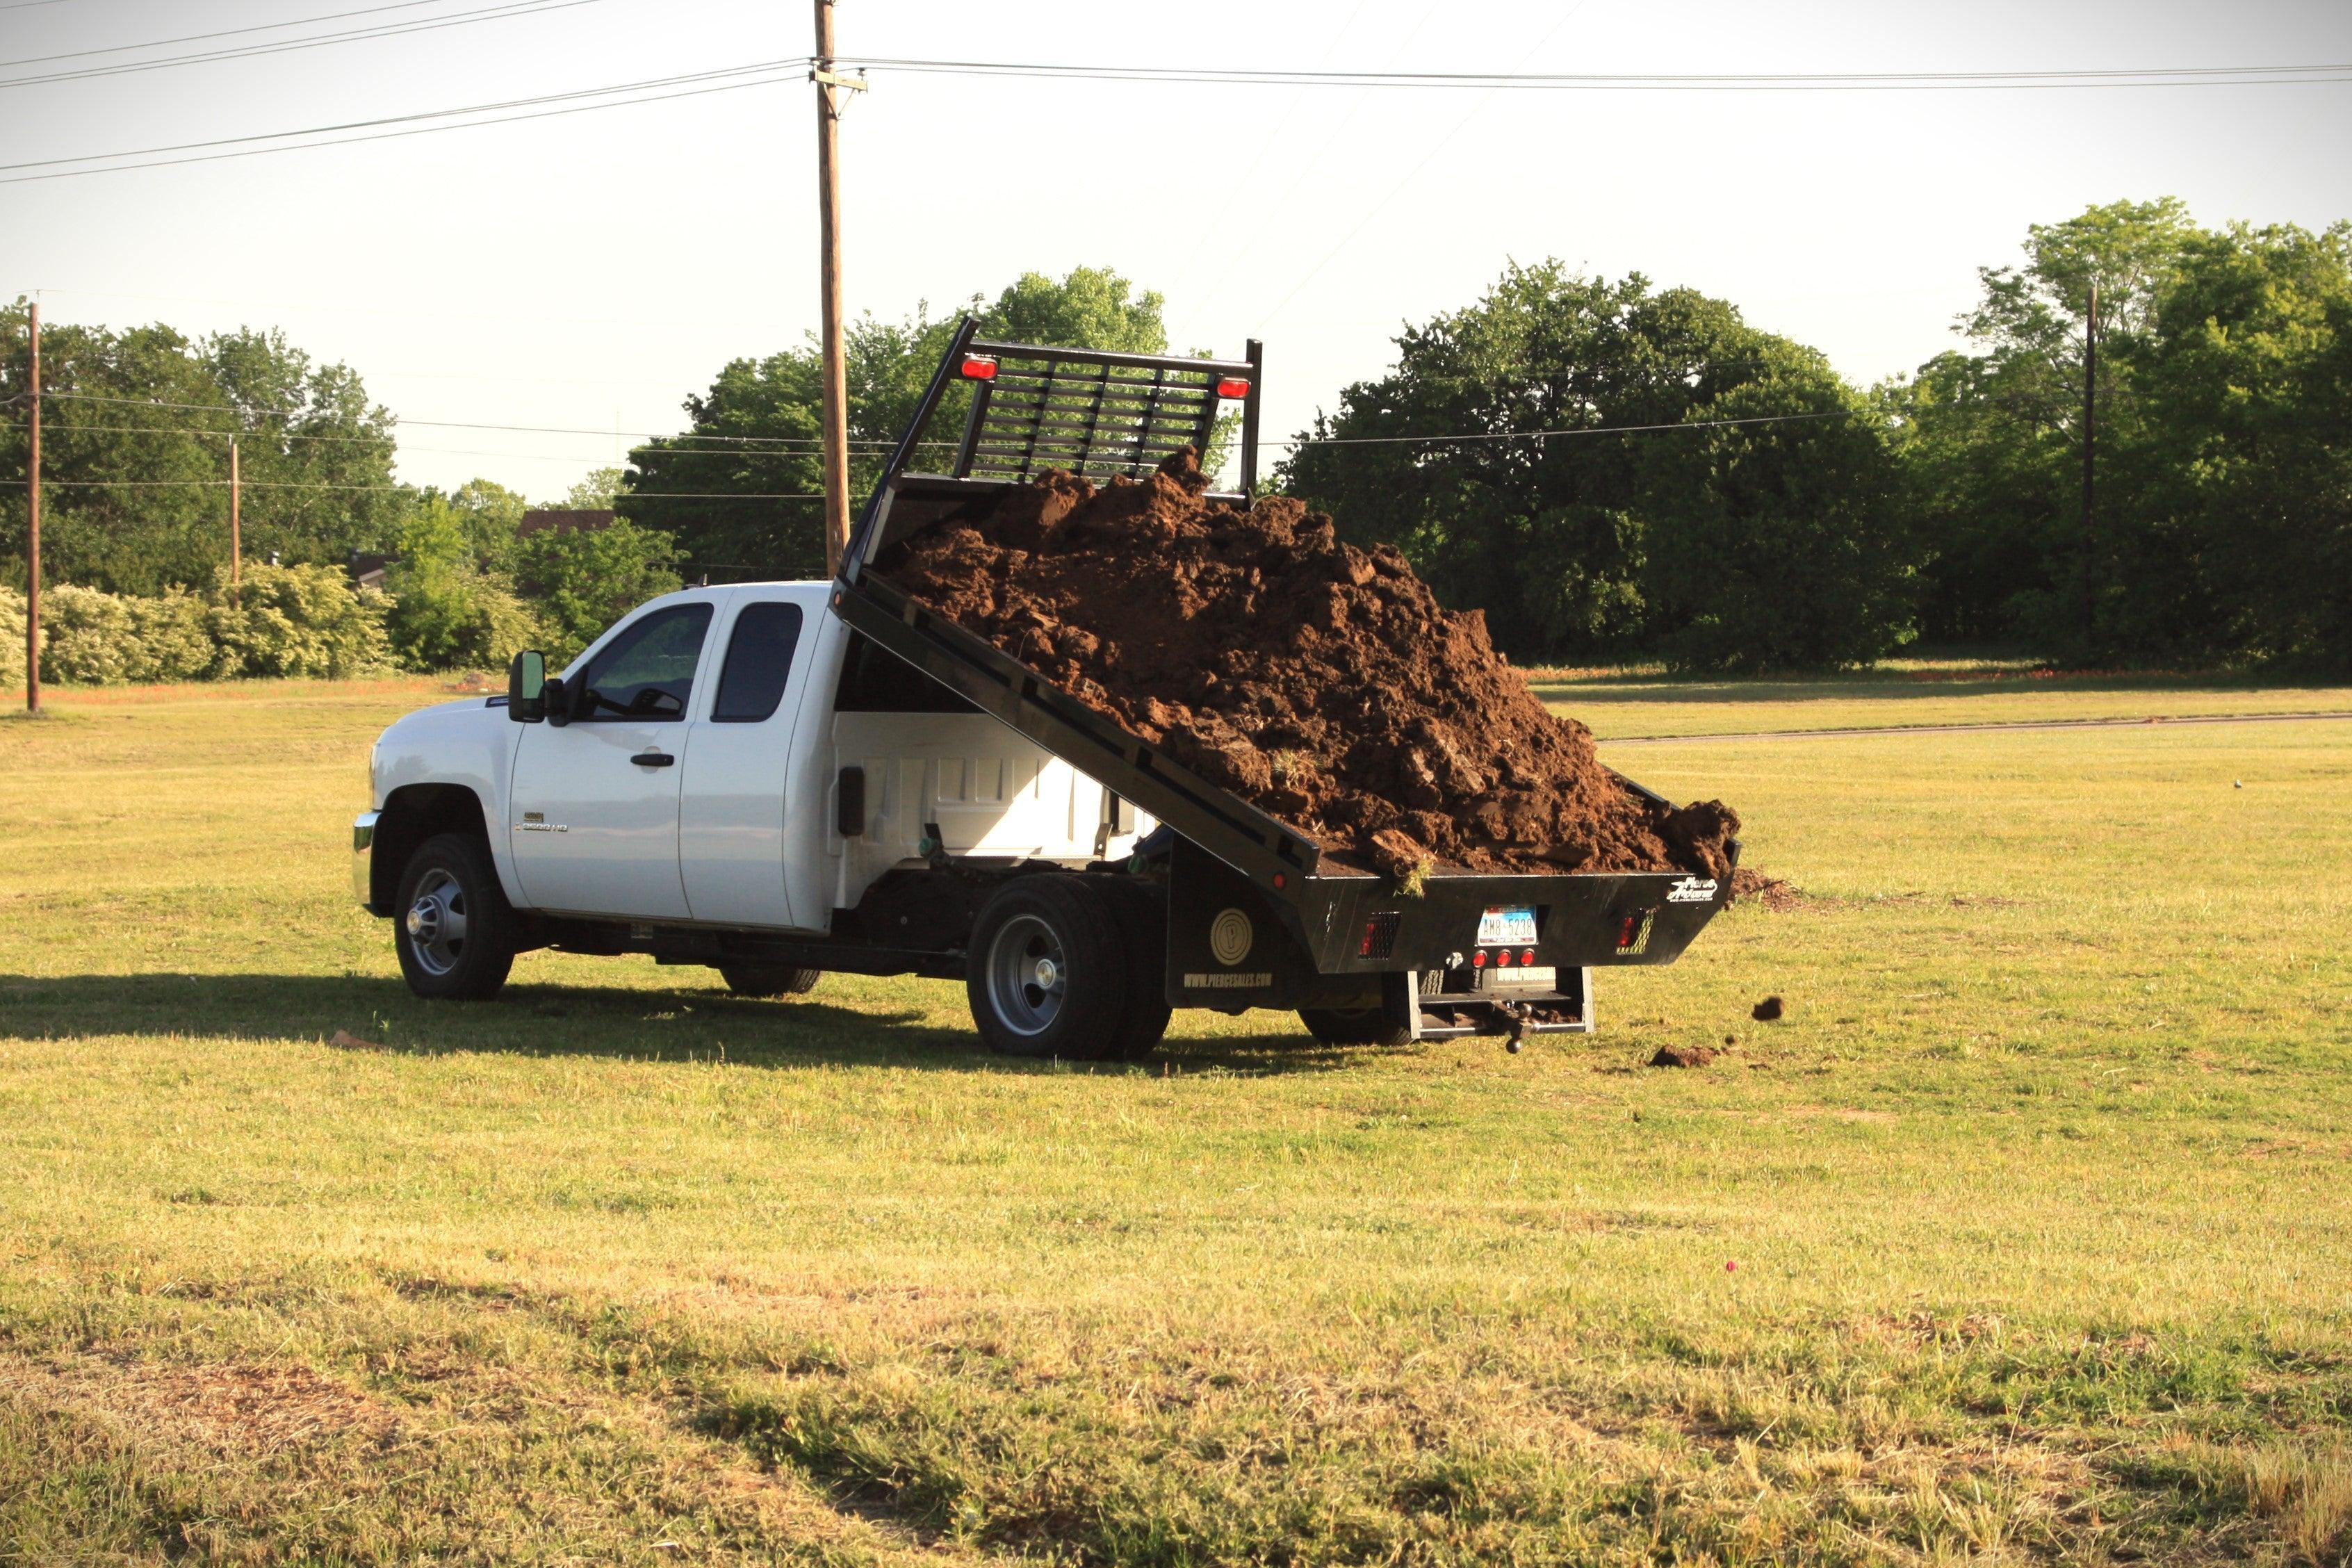
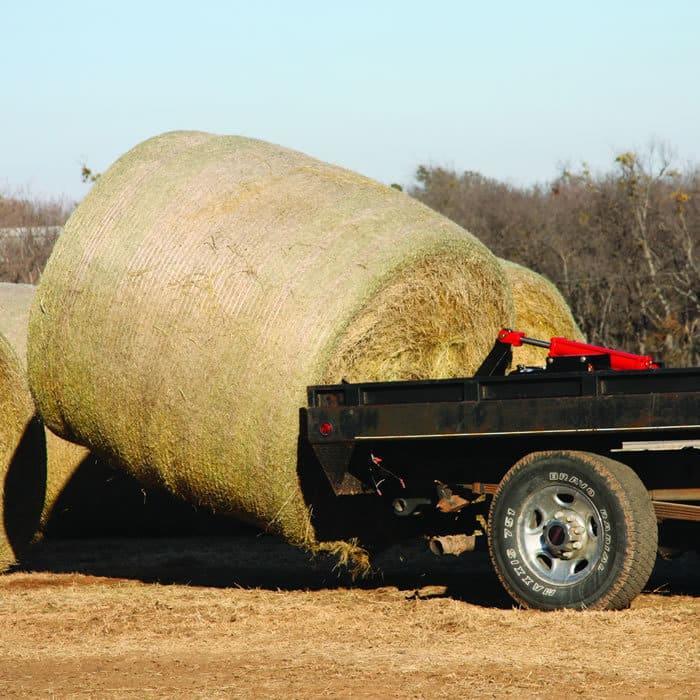
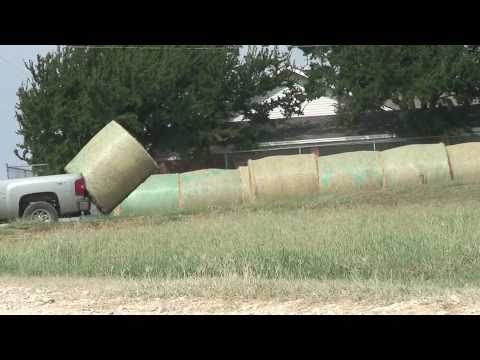
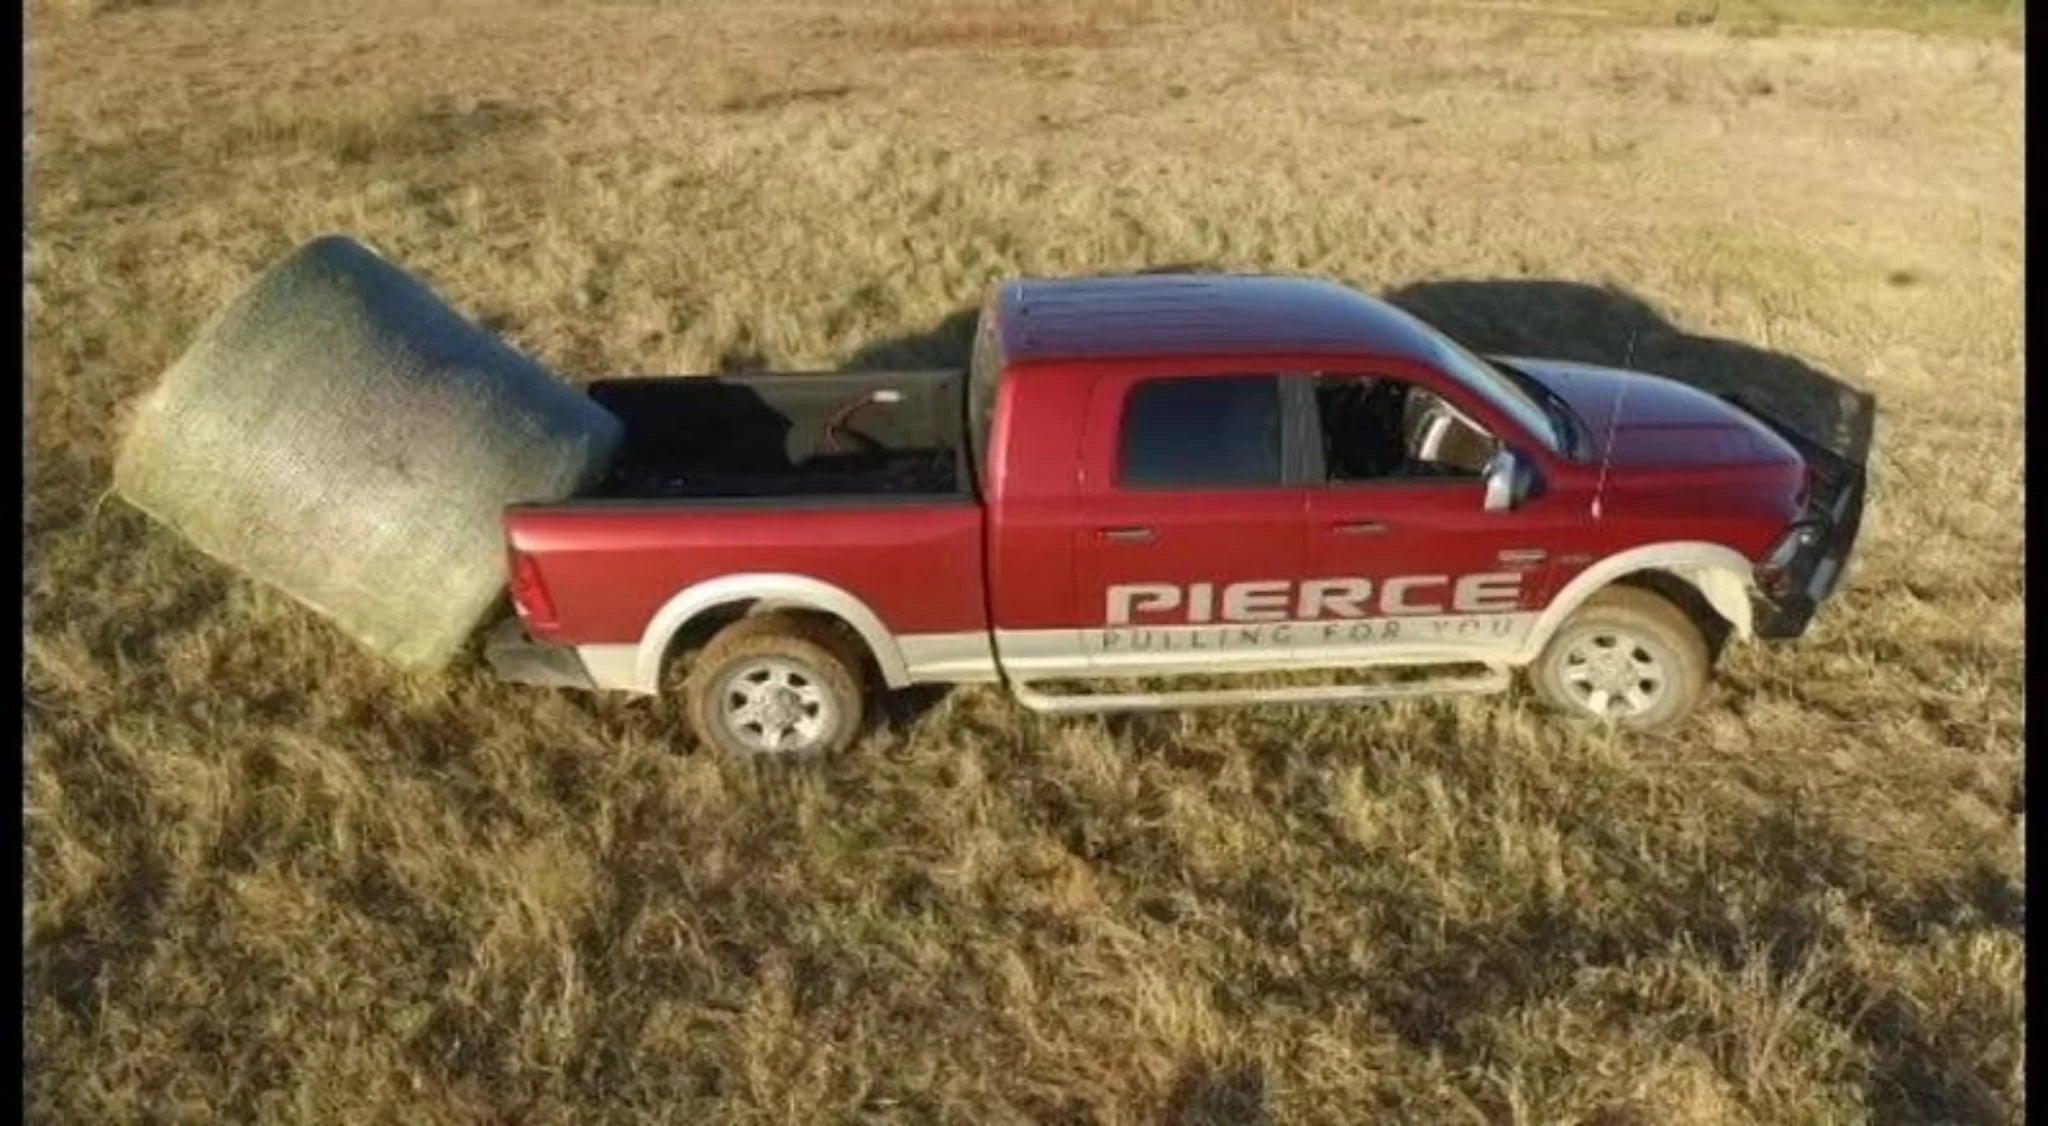
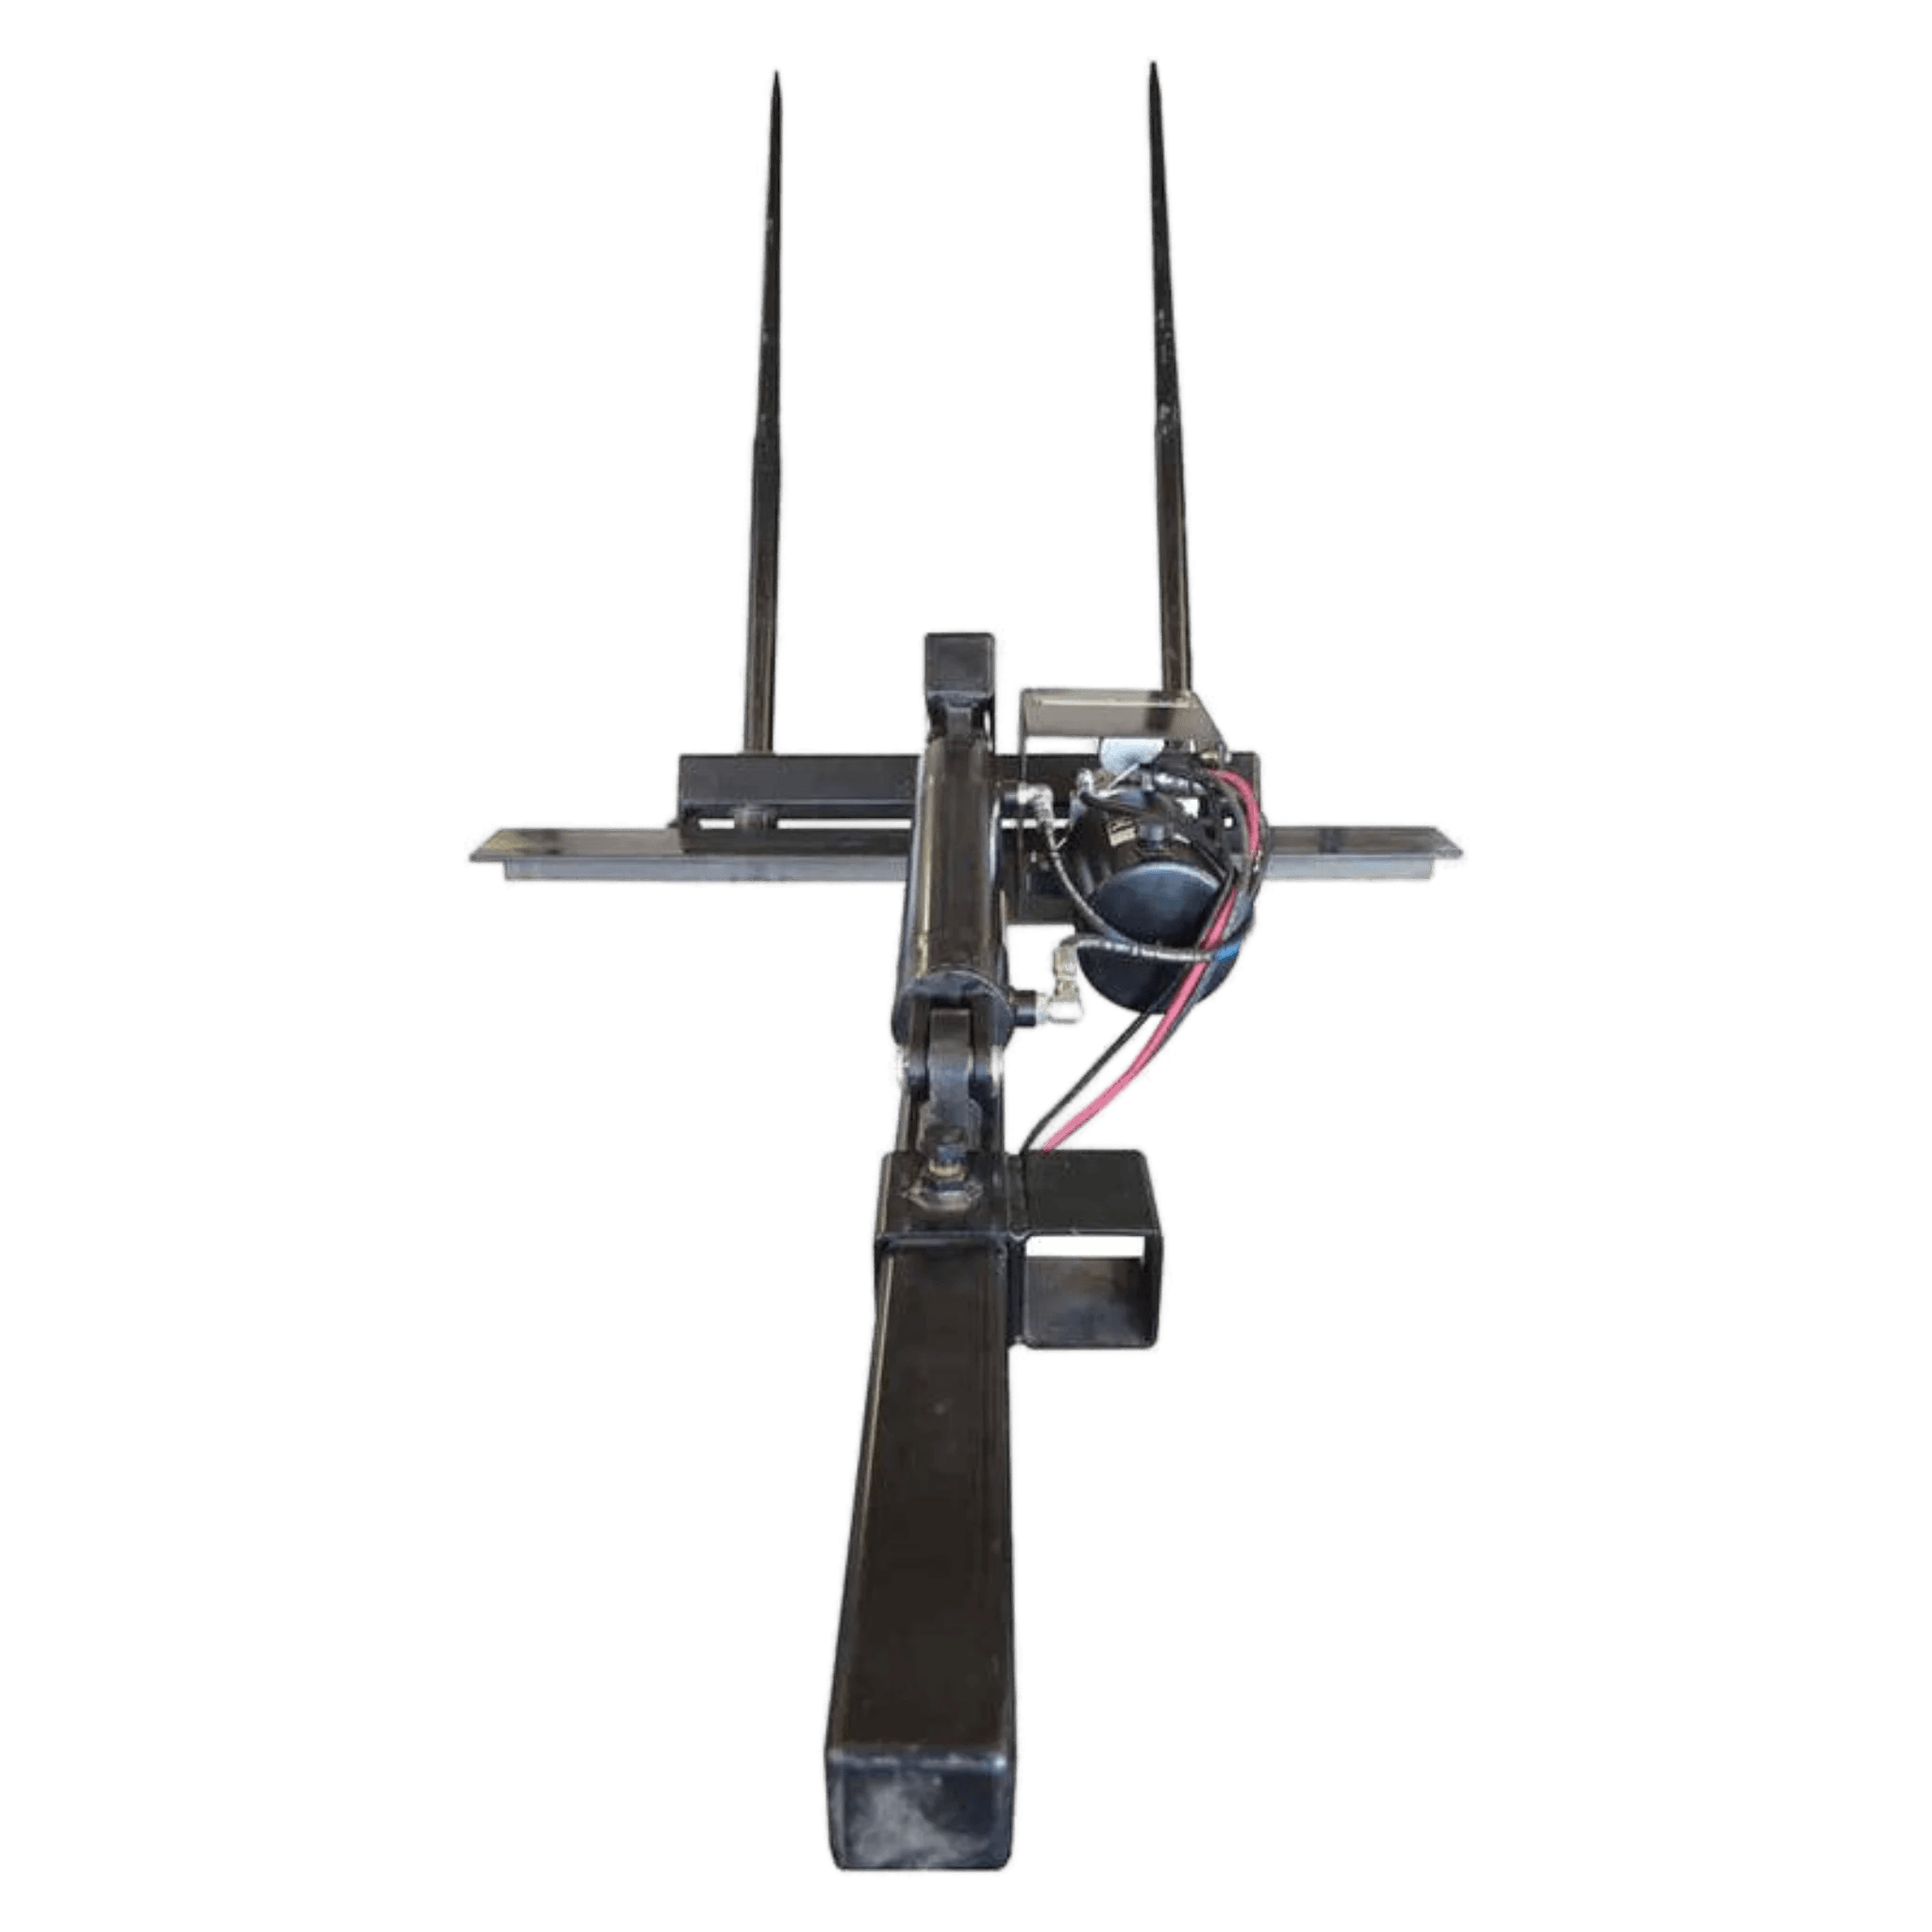
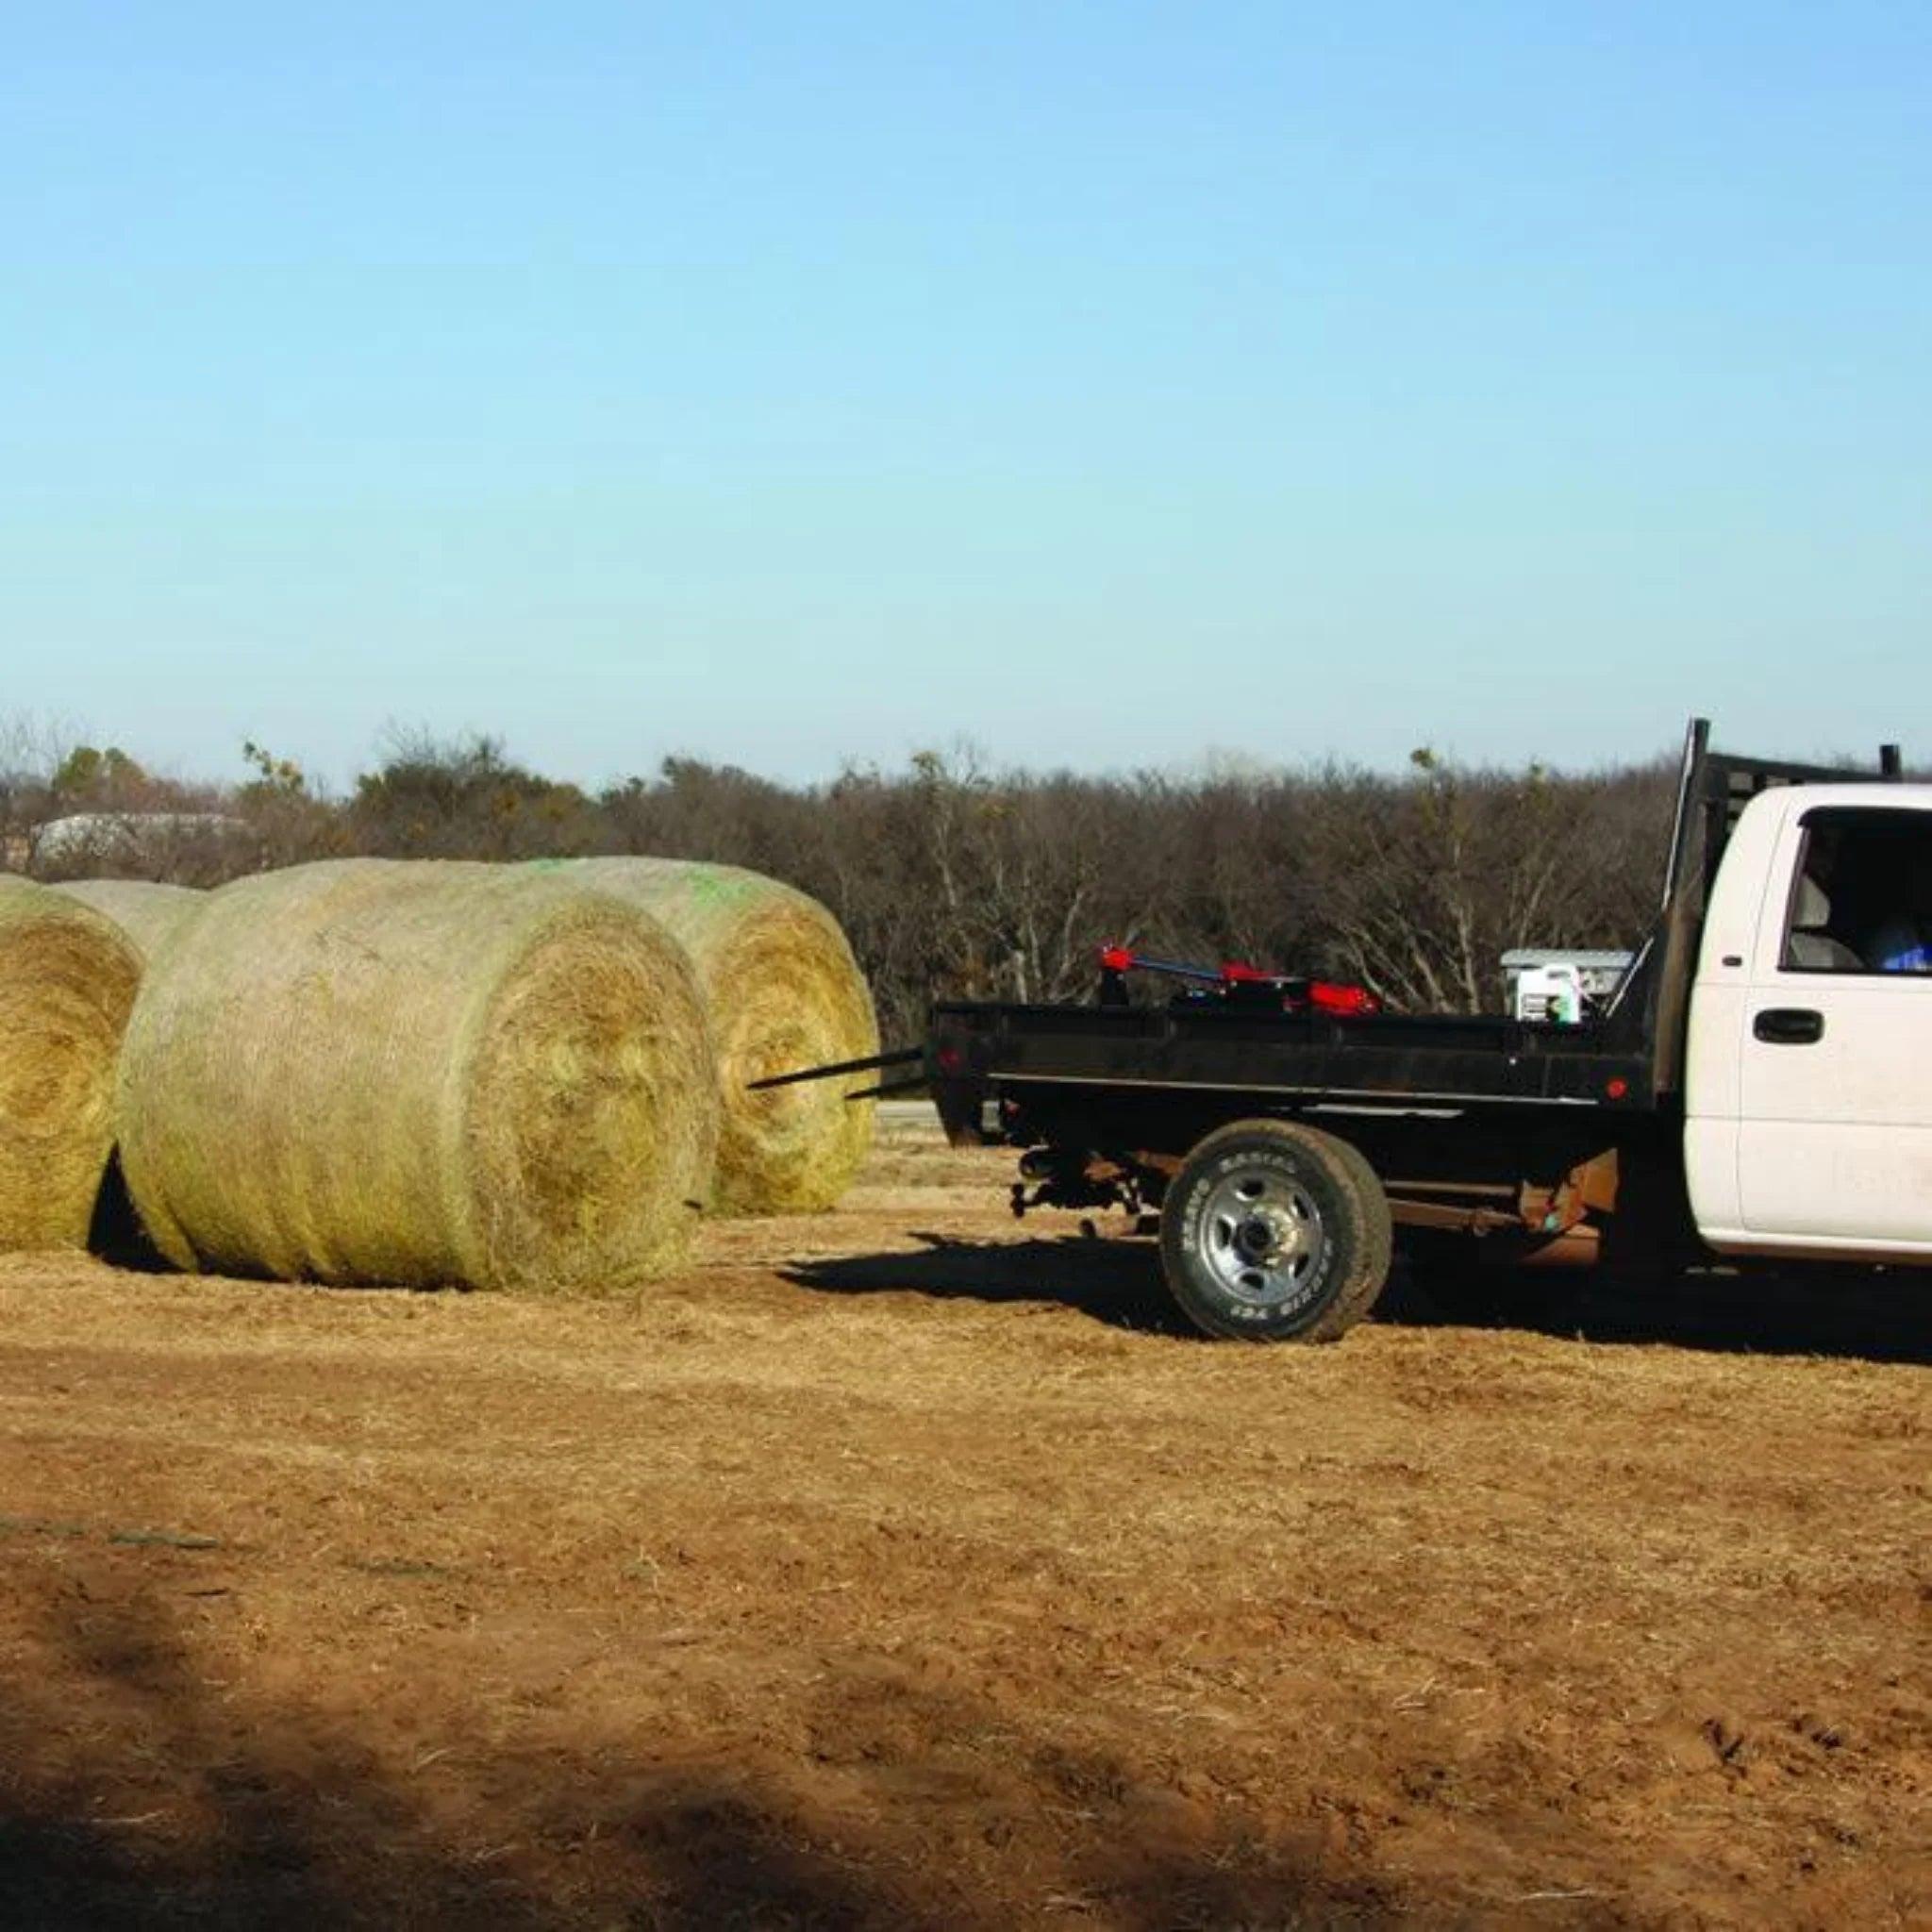
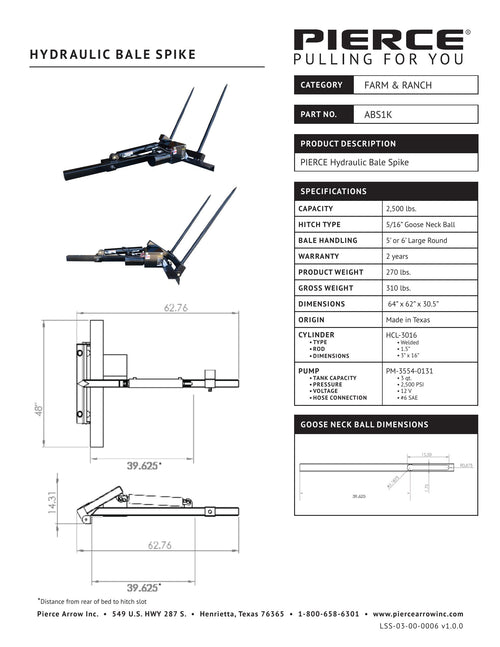
The PIERCE Truck Bed Gooseneck Hay Bale Spear is a durable, efficient tool for ranchers and farmers who need to move hay bales without a tractor. Designed for easy mounting on a 2-5/16" gooseneck ball, this hydraulic bale mover offers a 2,500 lb. capacity, making it perfect for handling large hay bales with your pickup truck. It’s a reliable, cost-effective alternative to built-in bale beds.
Why Choose the PIERCE Truck Bed Gooseneck Hay Bale Spear?
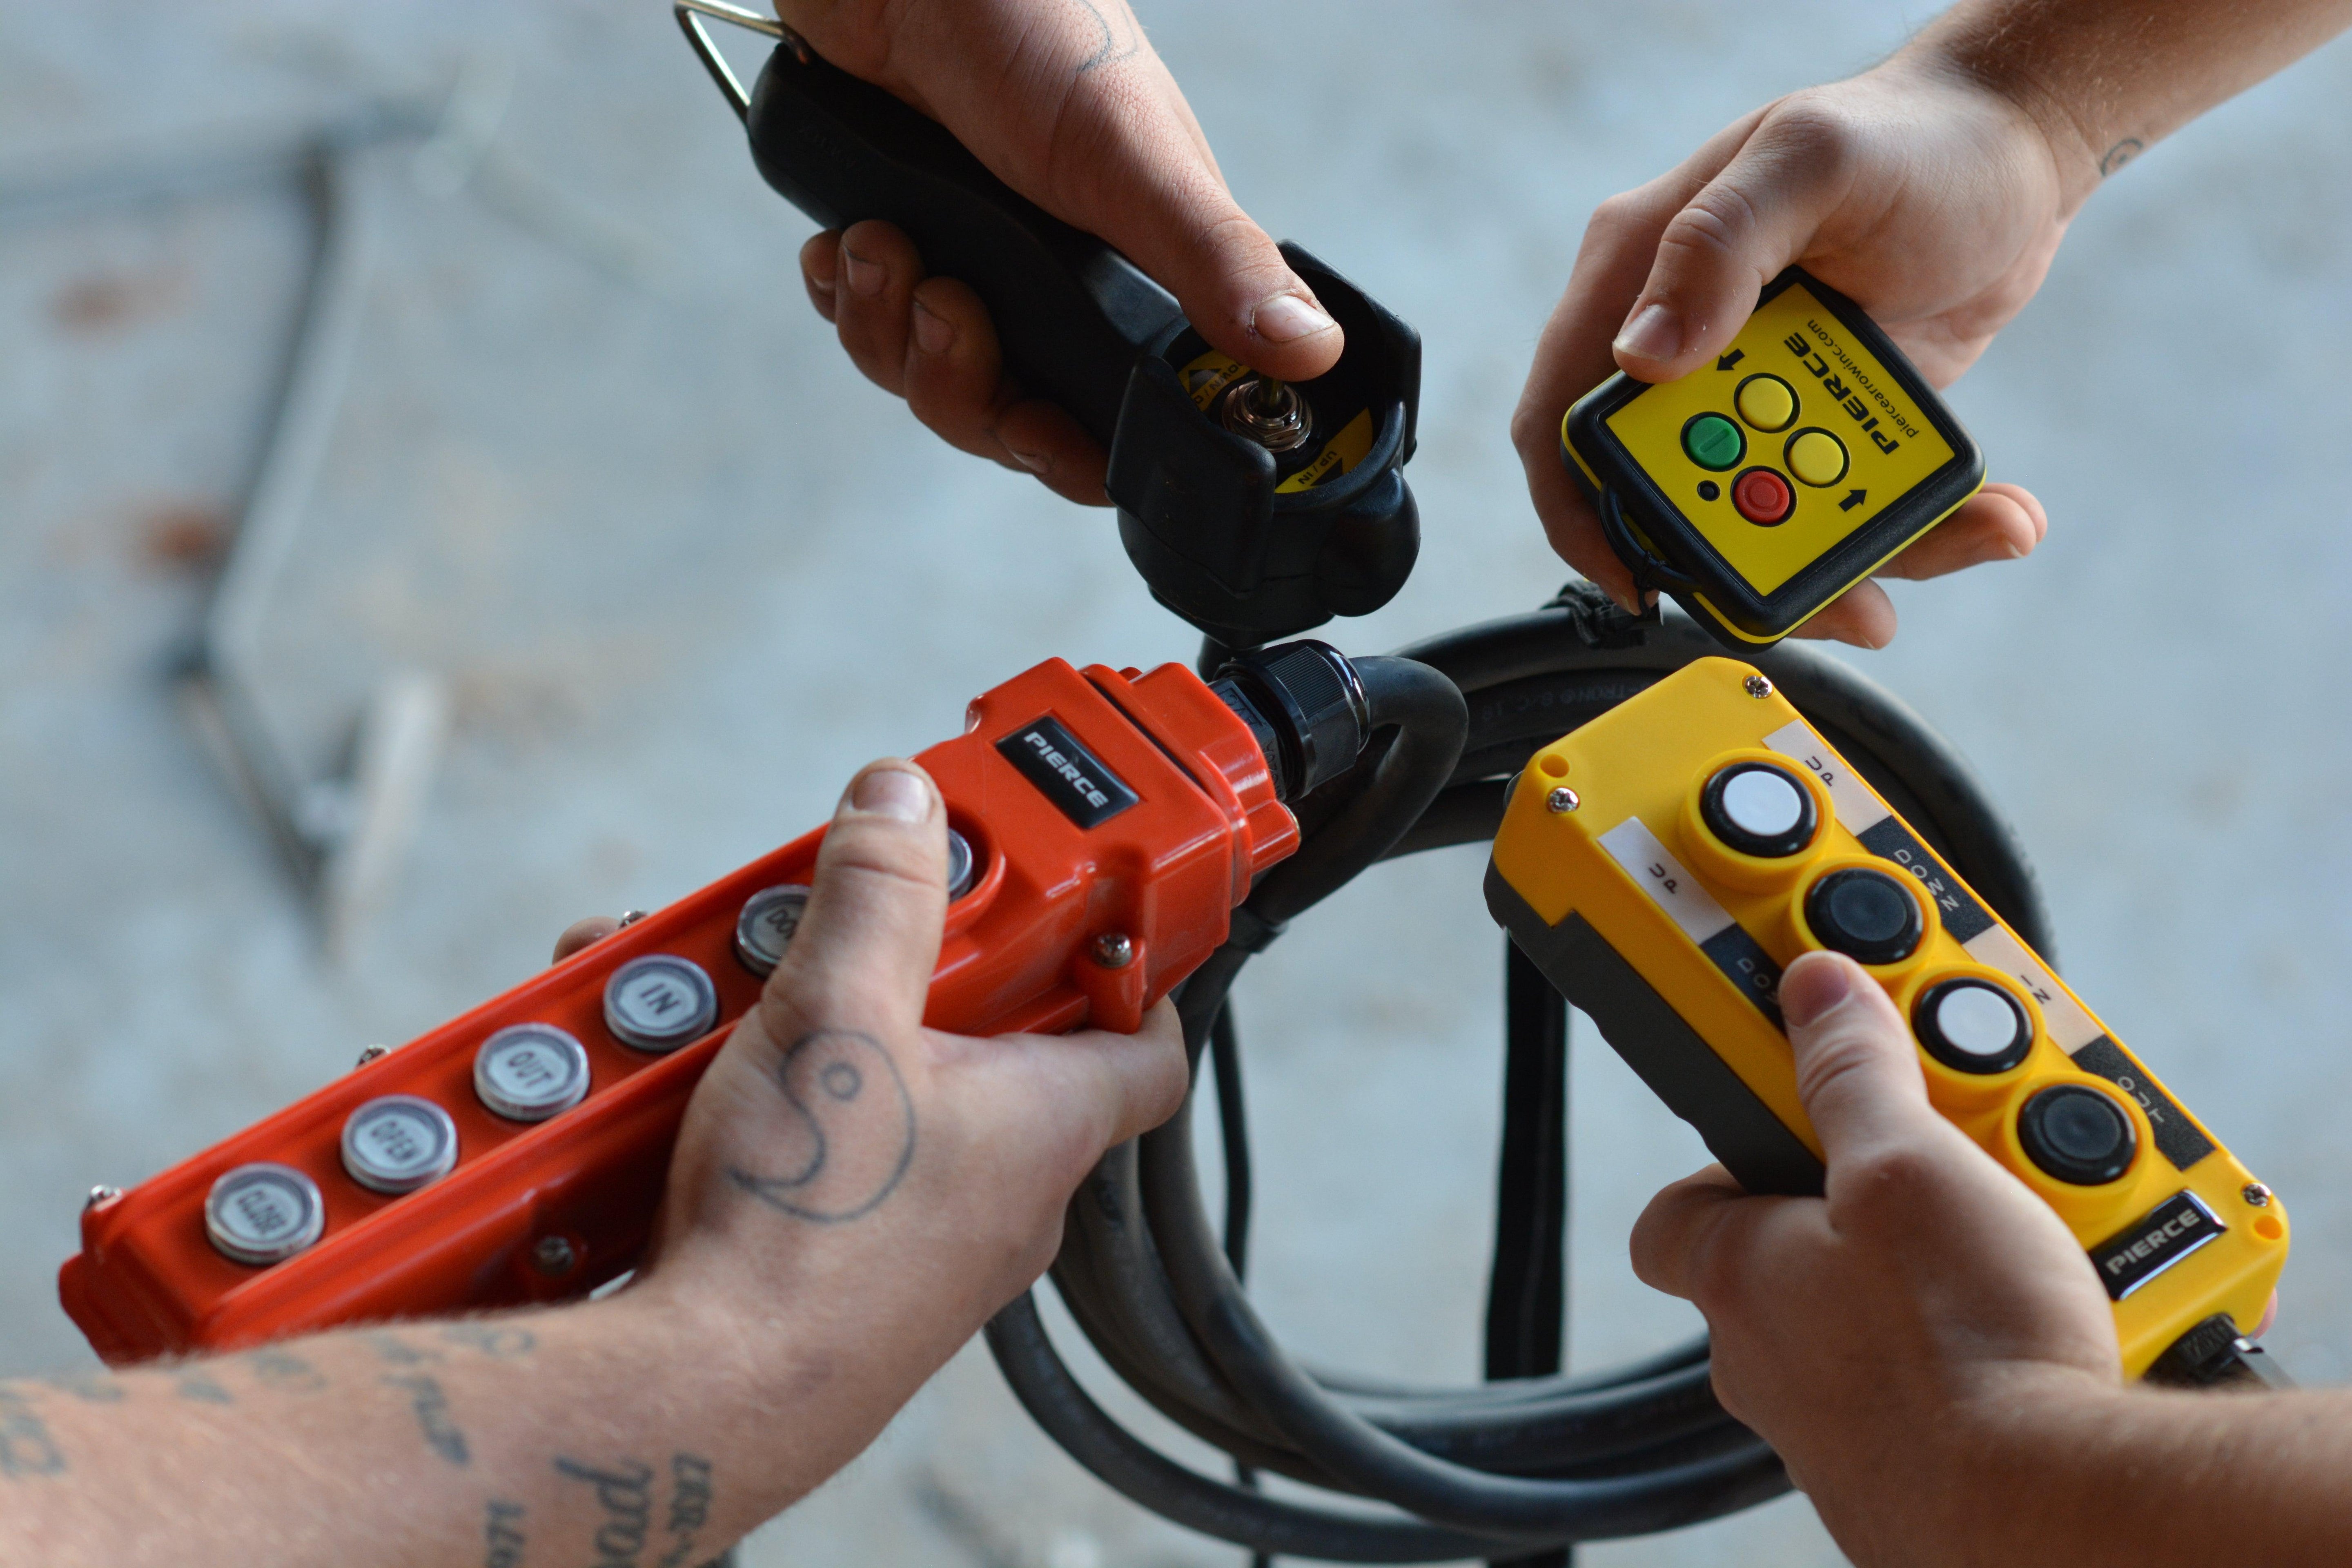
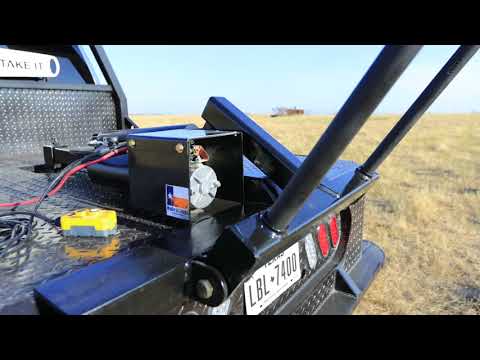
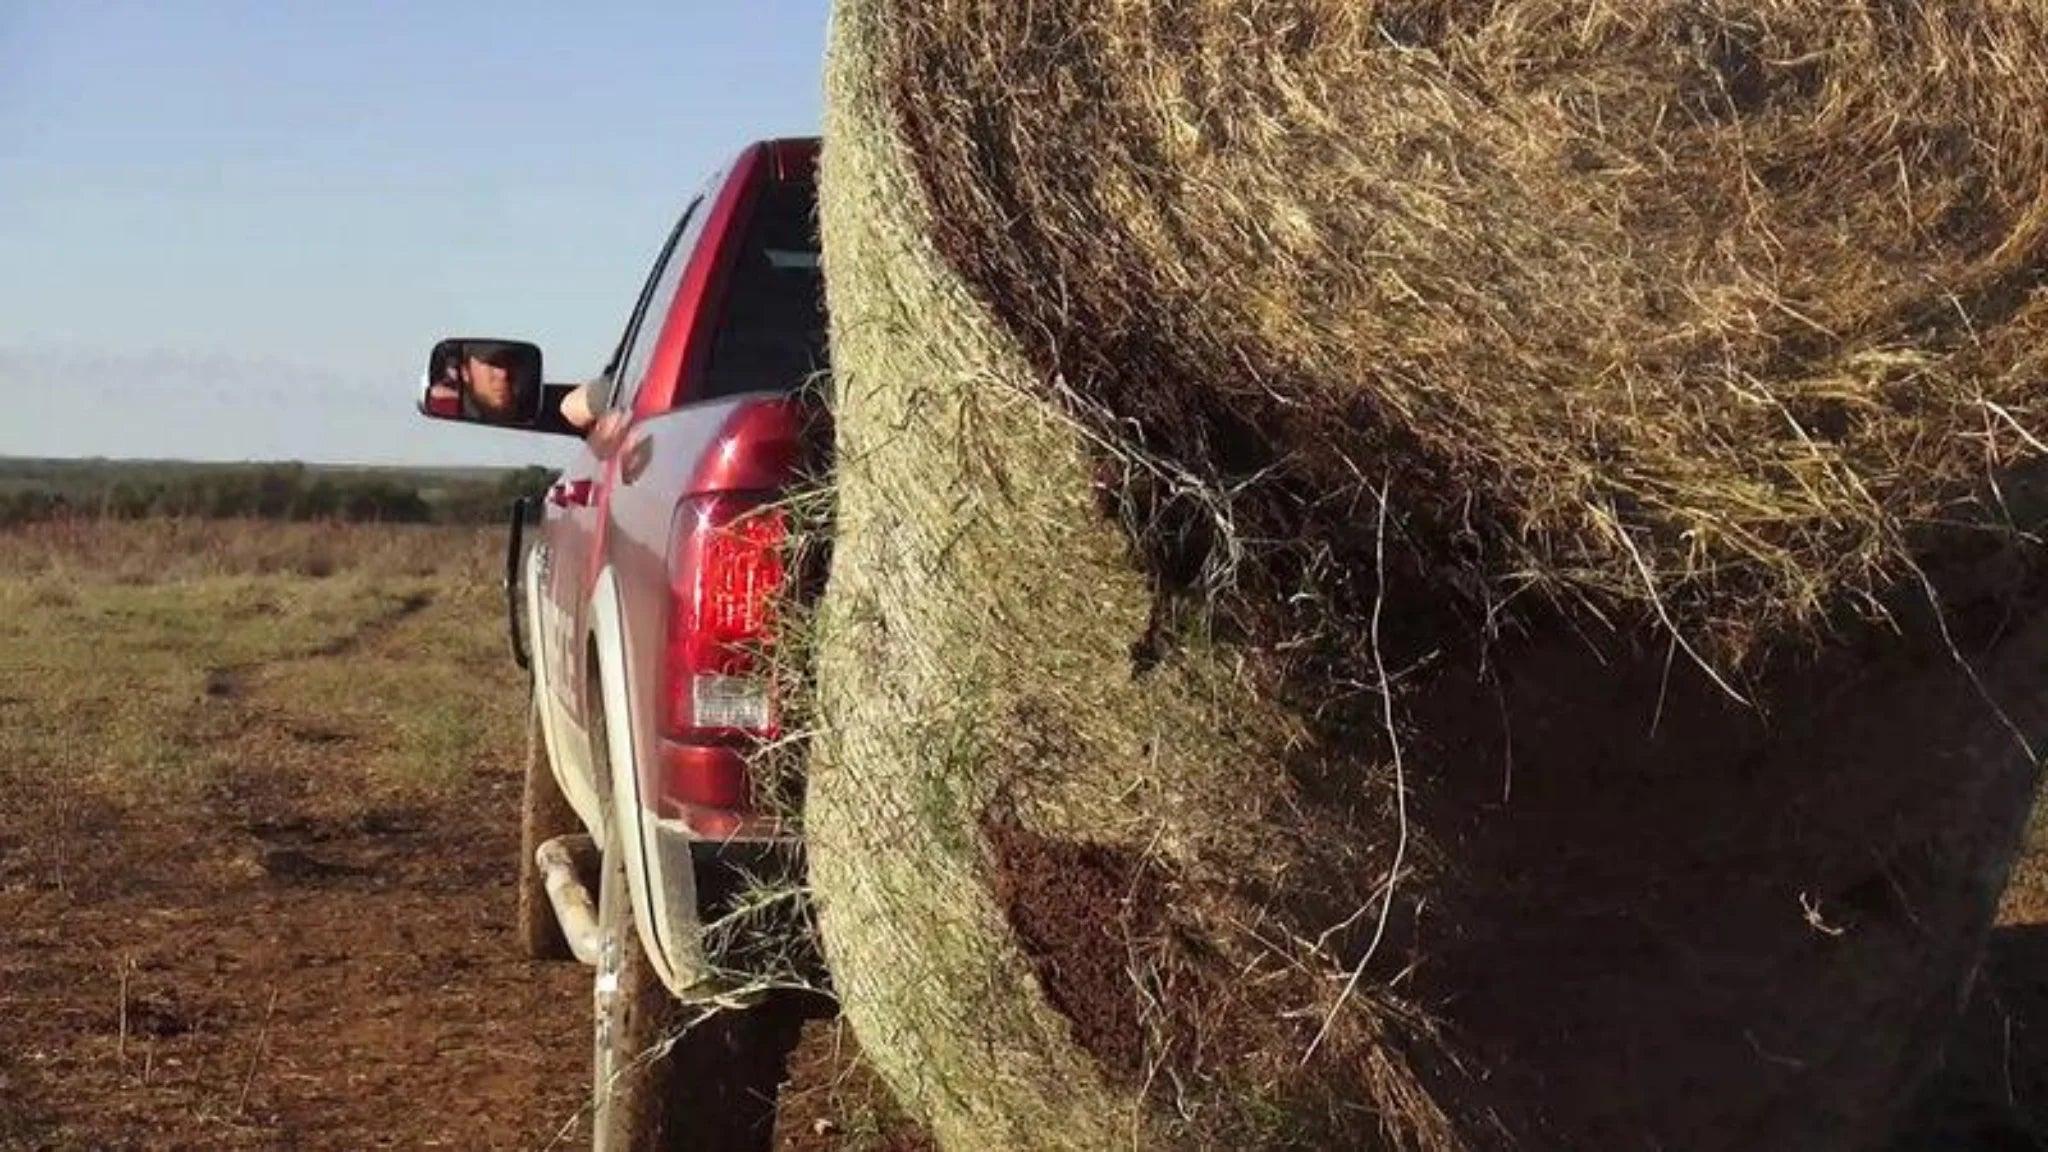
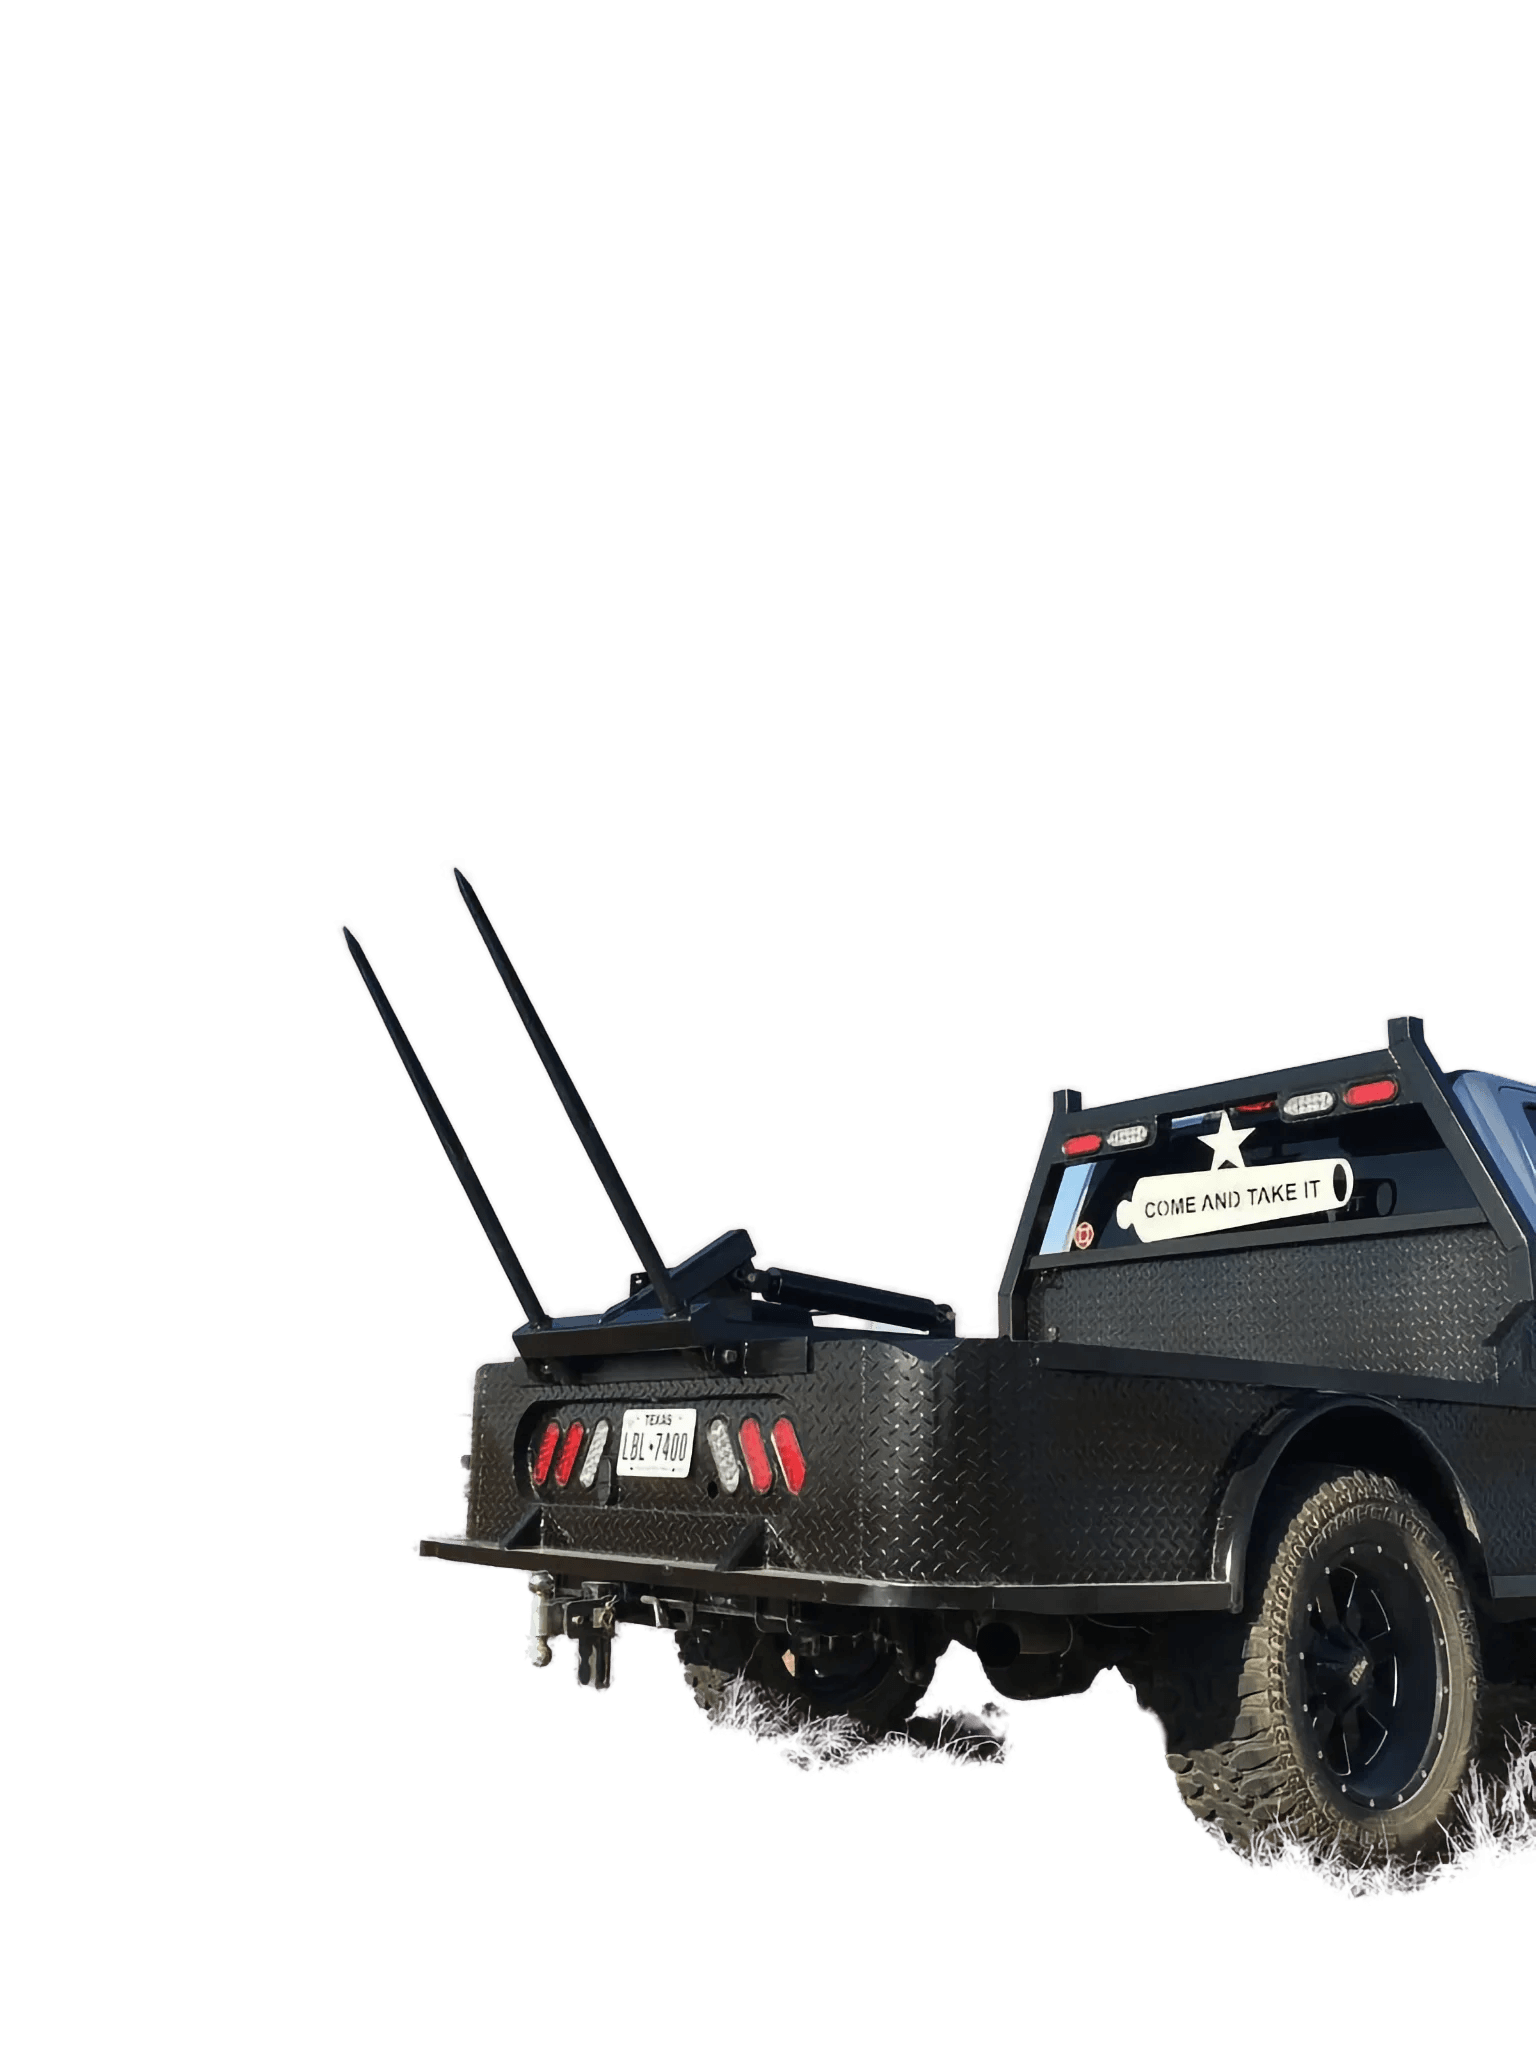
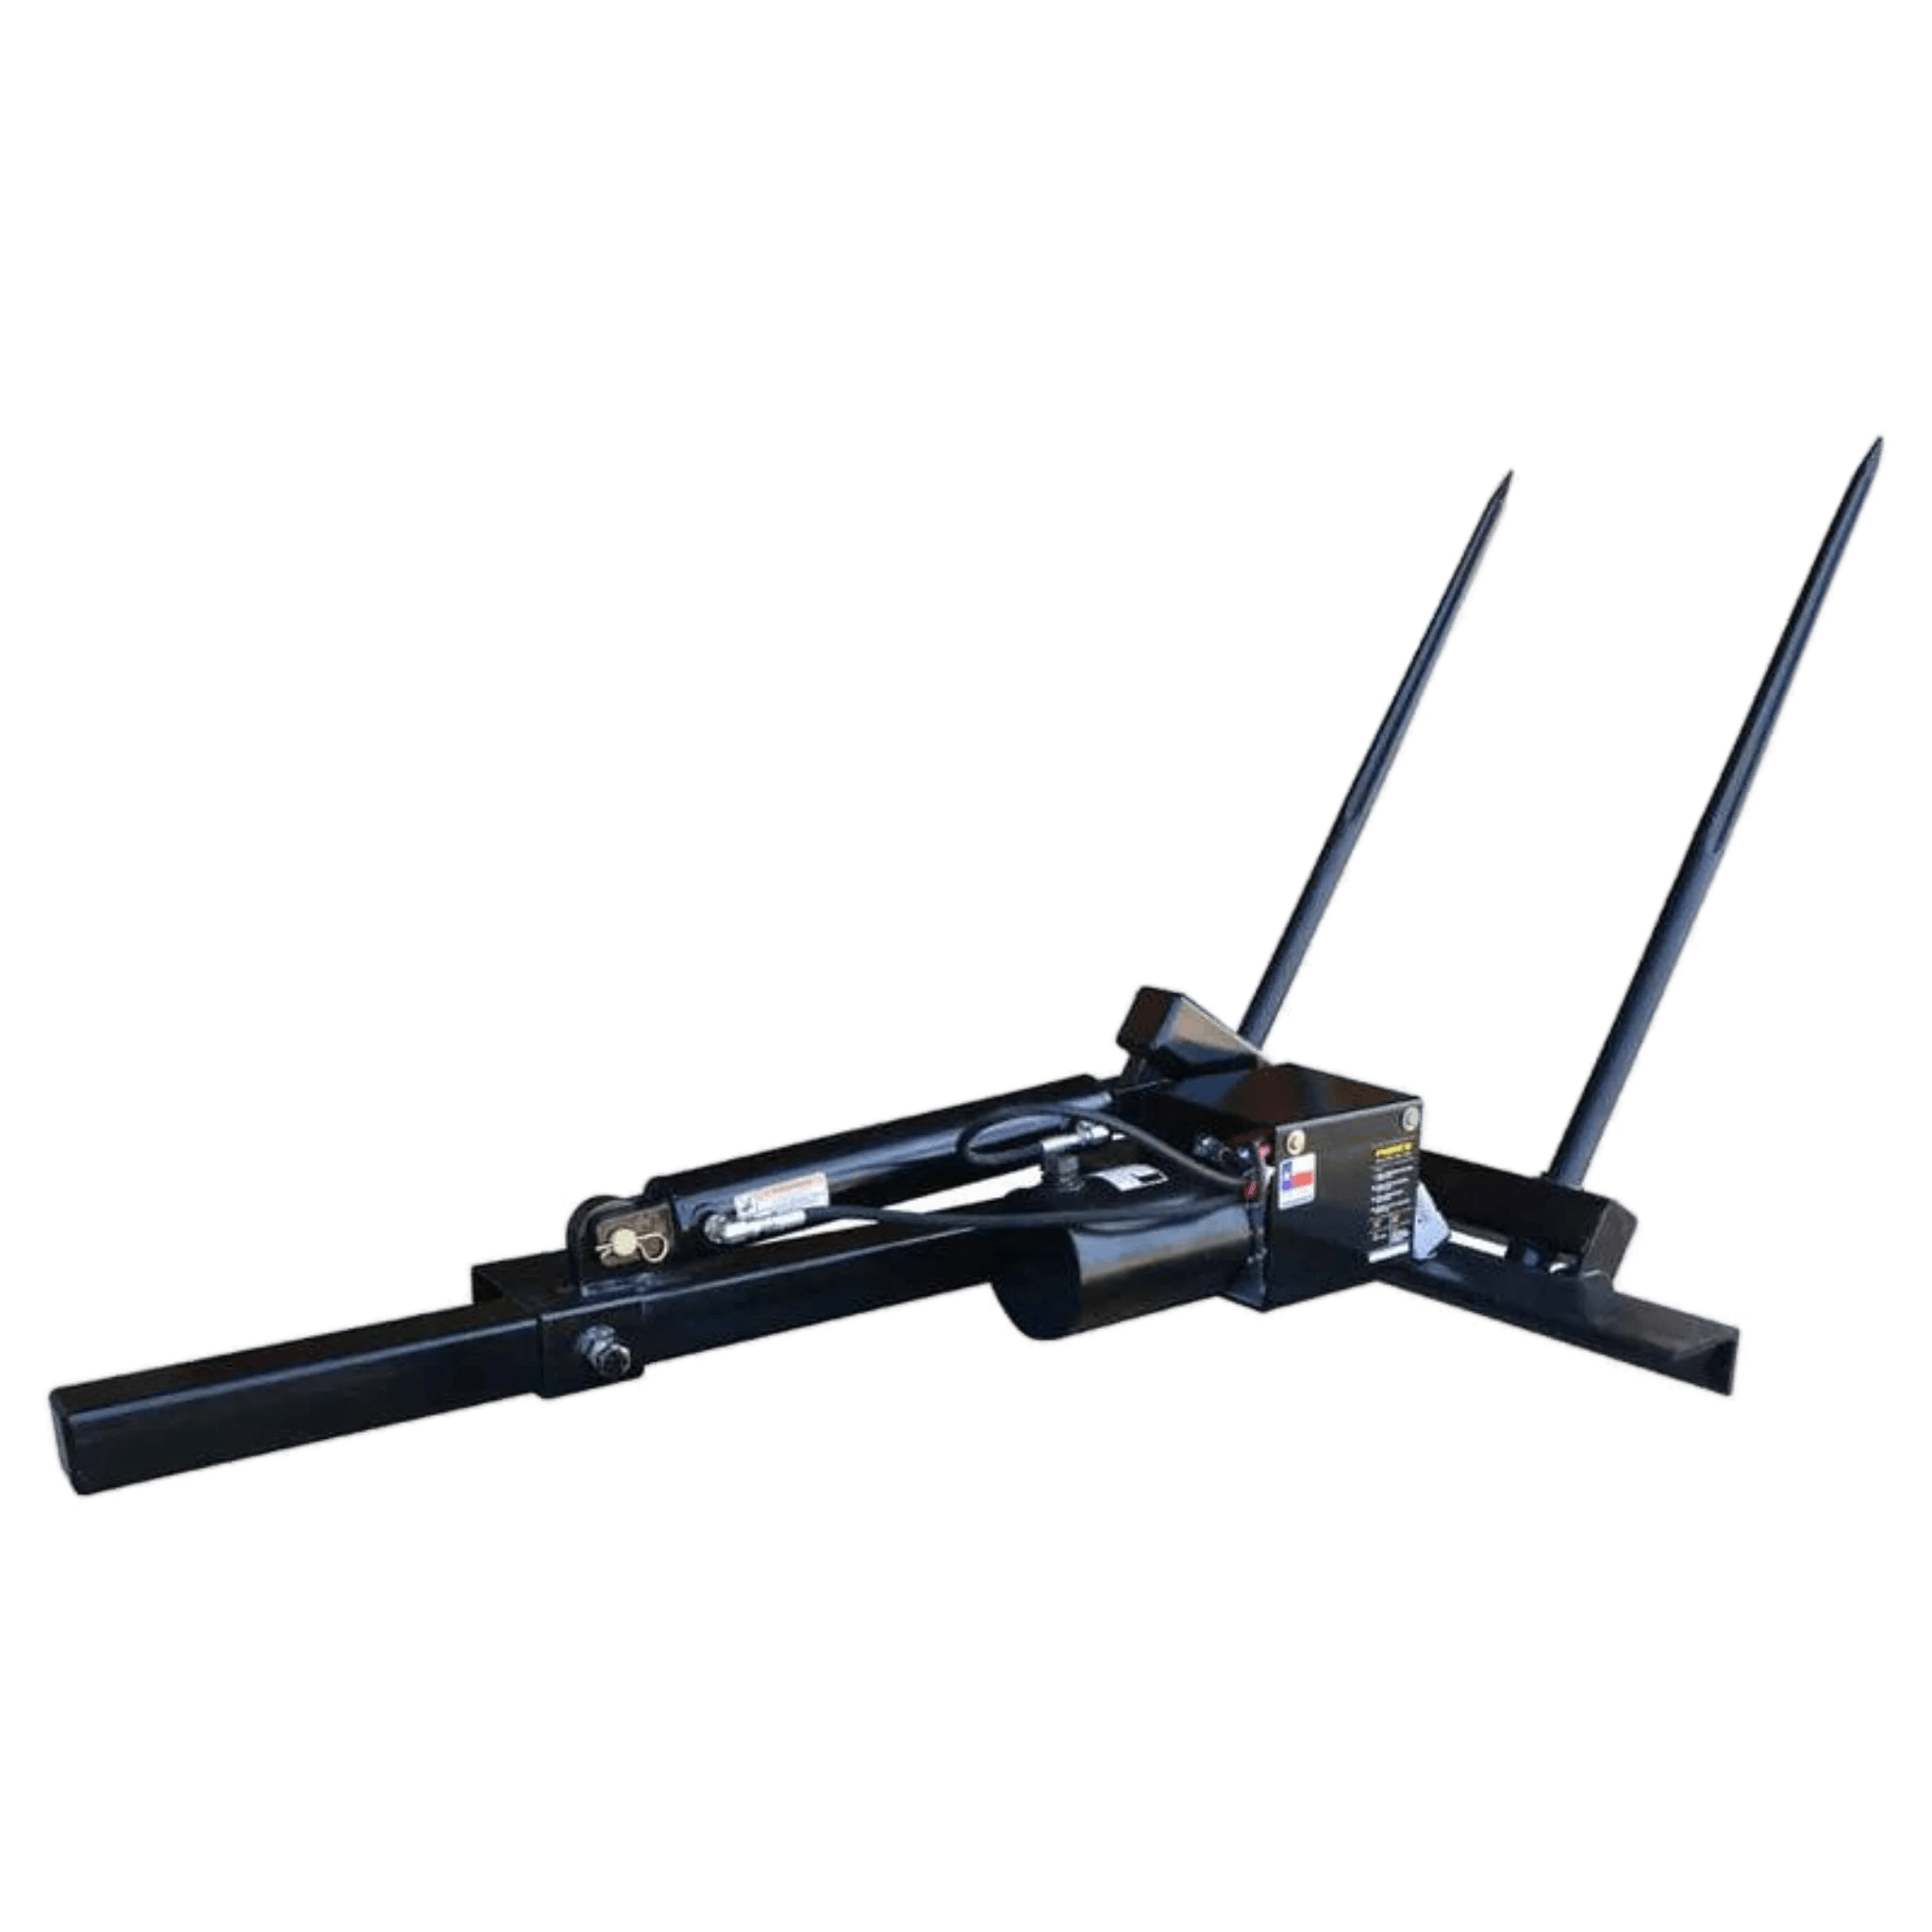
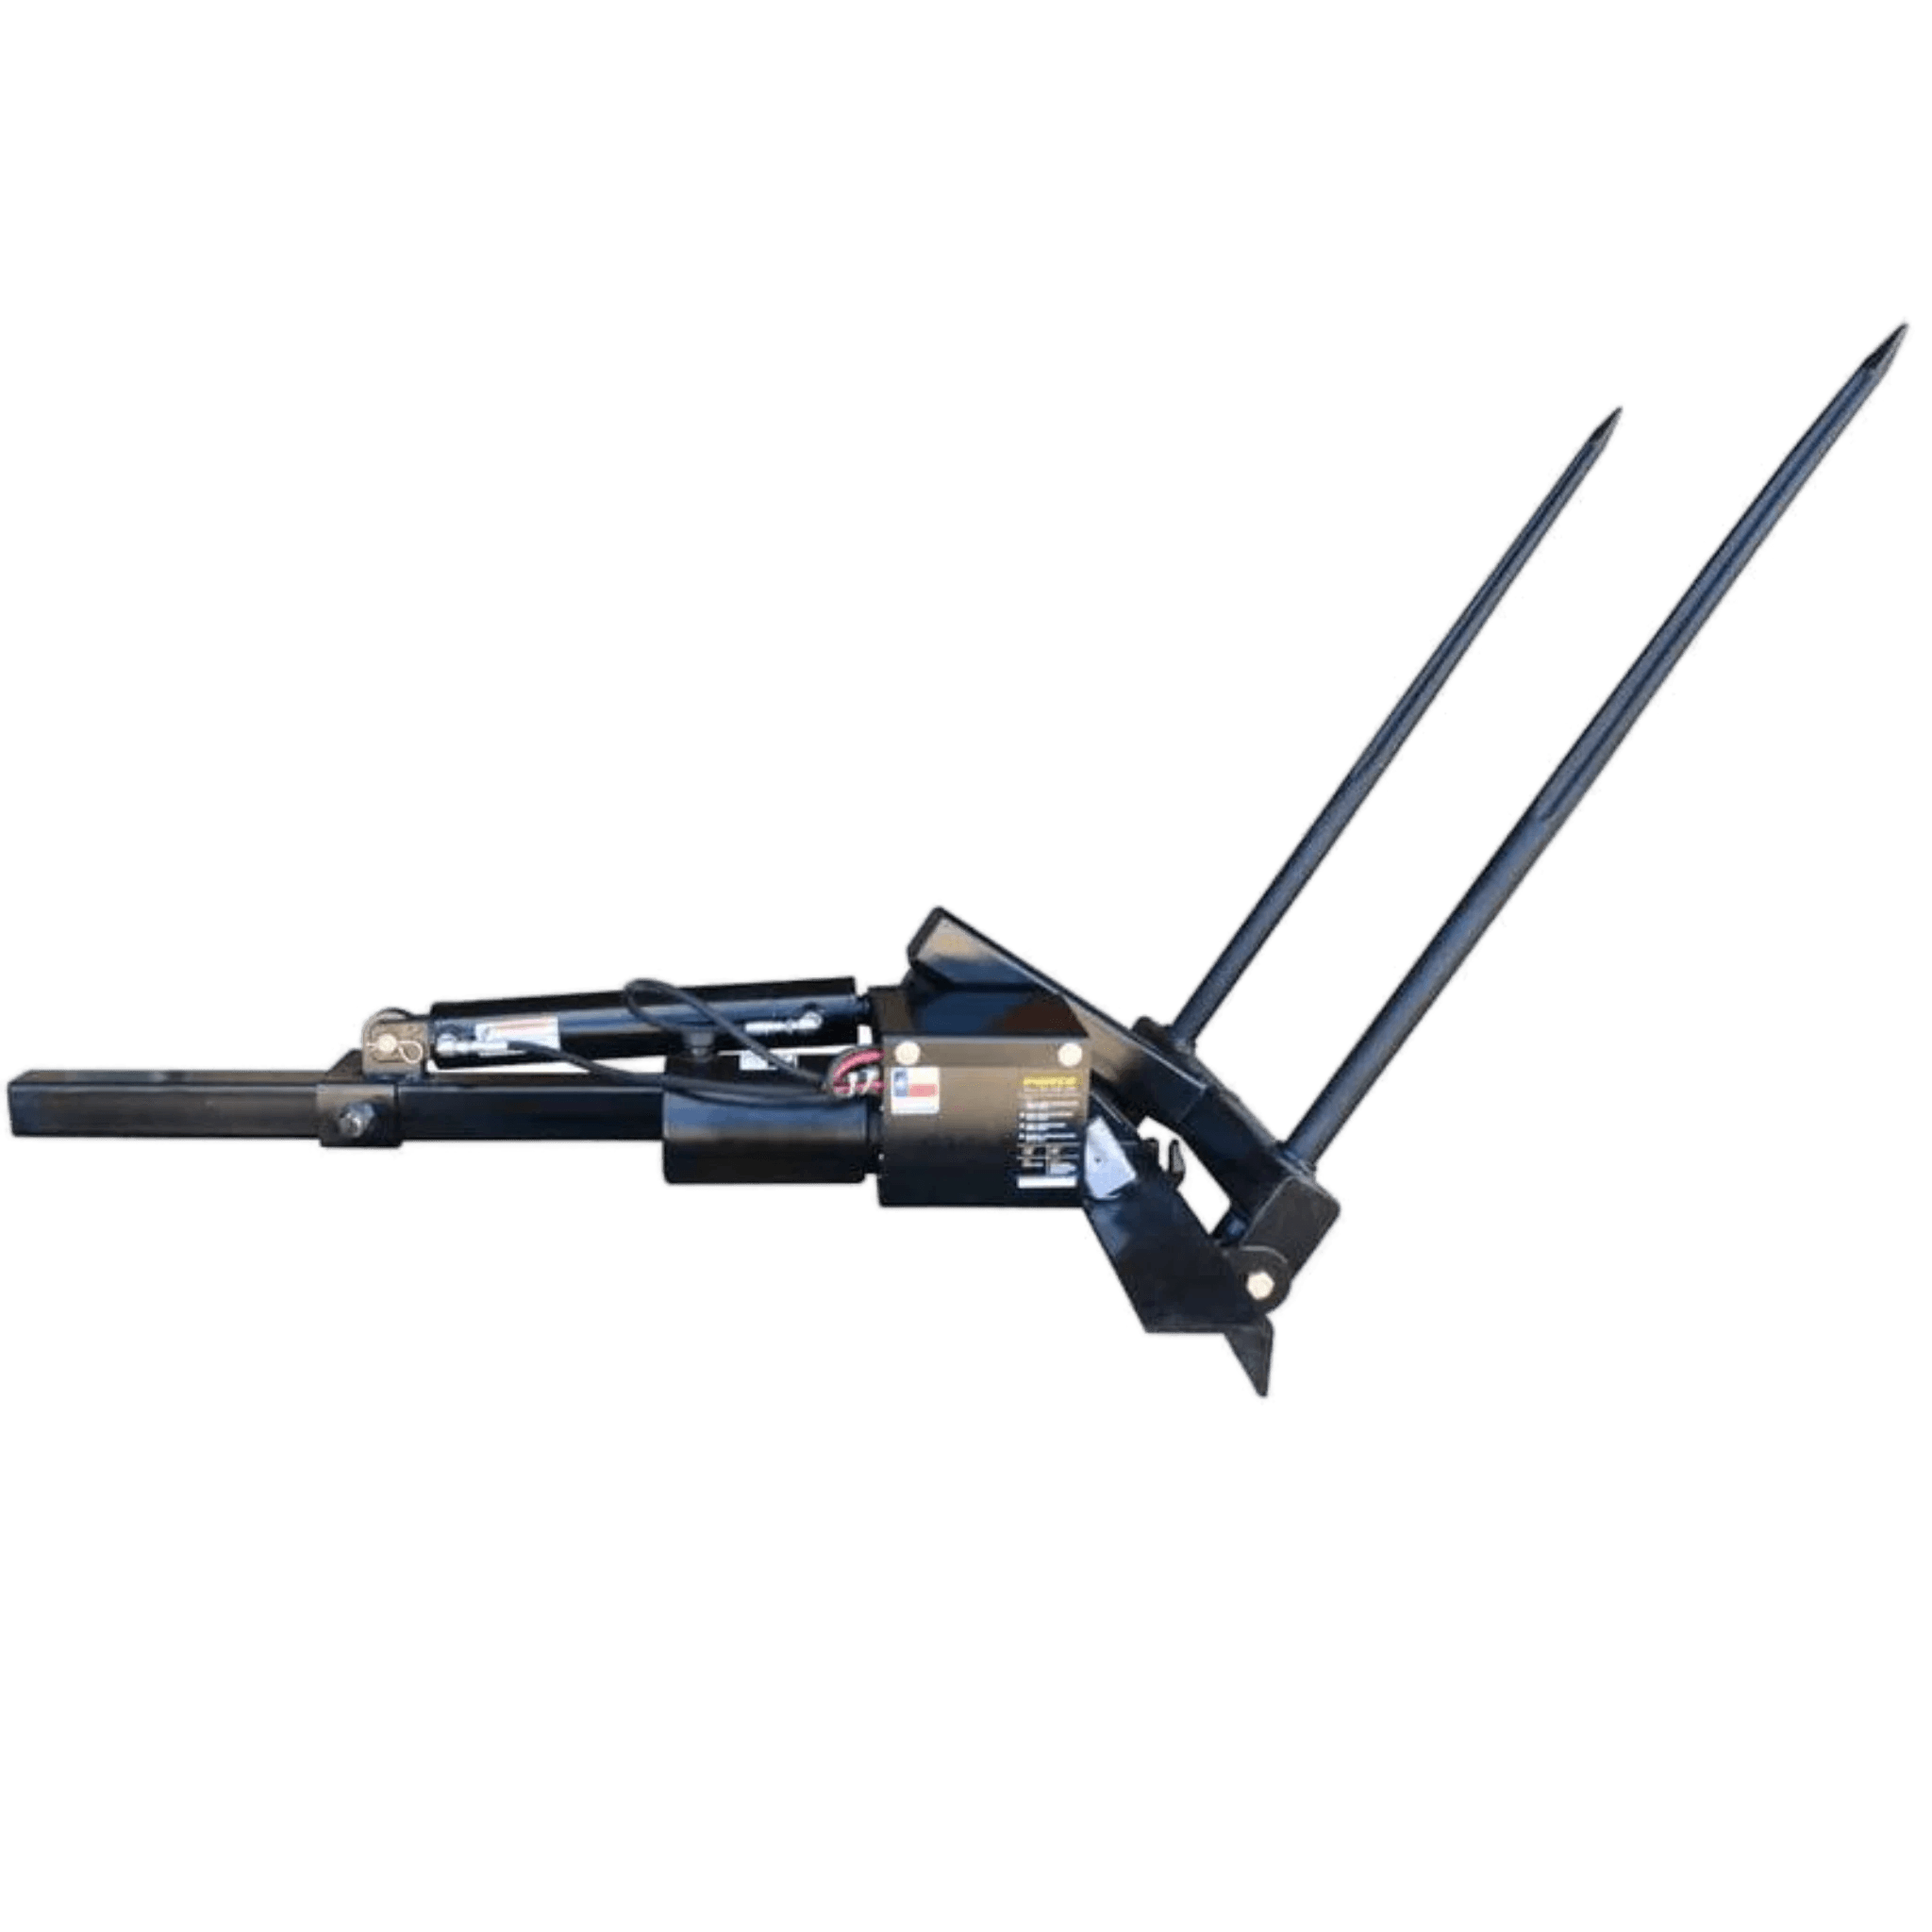
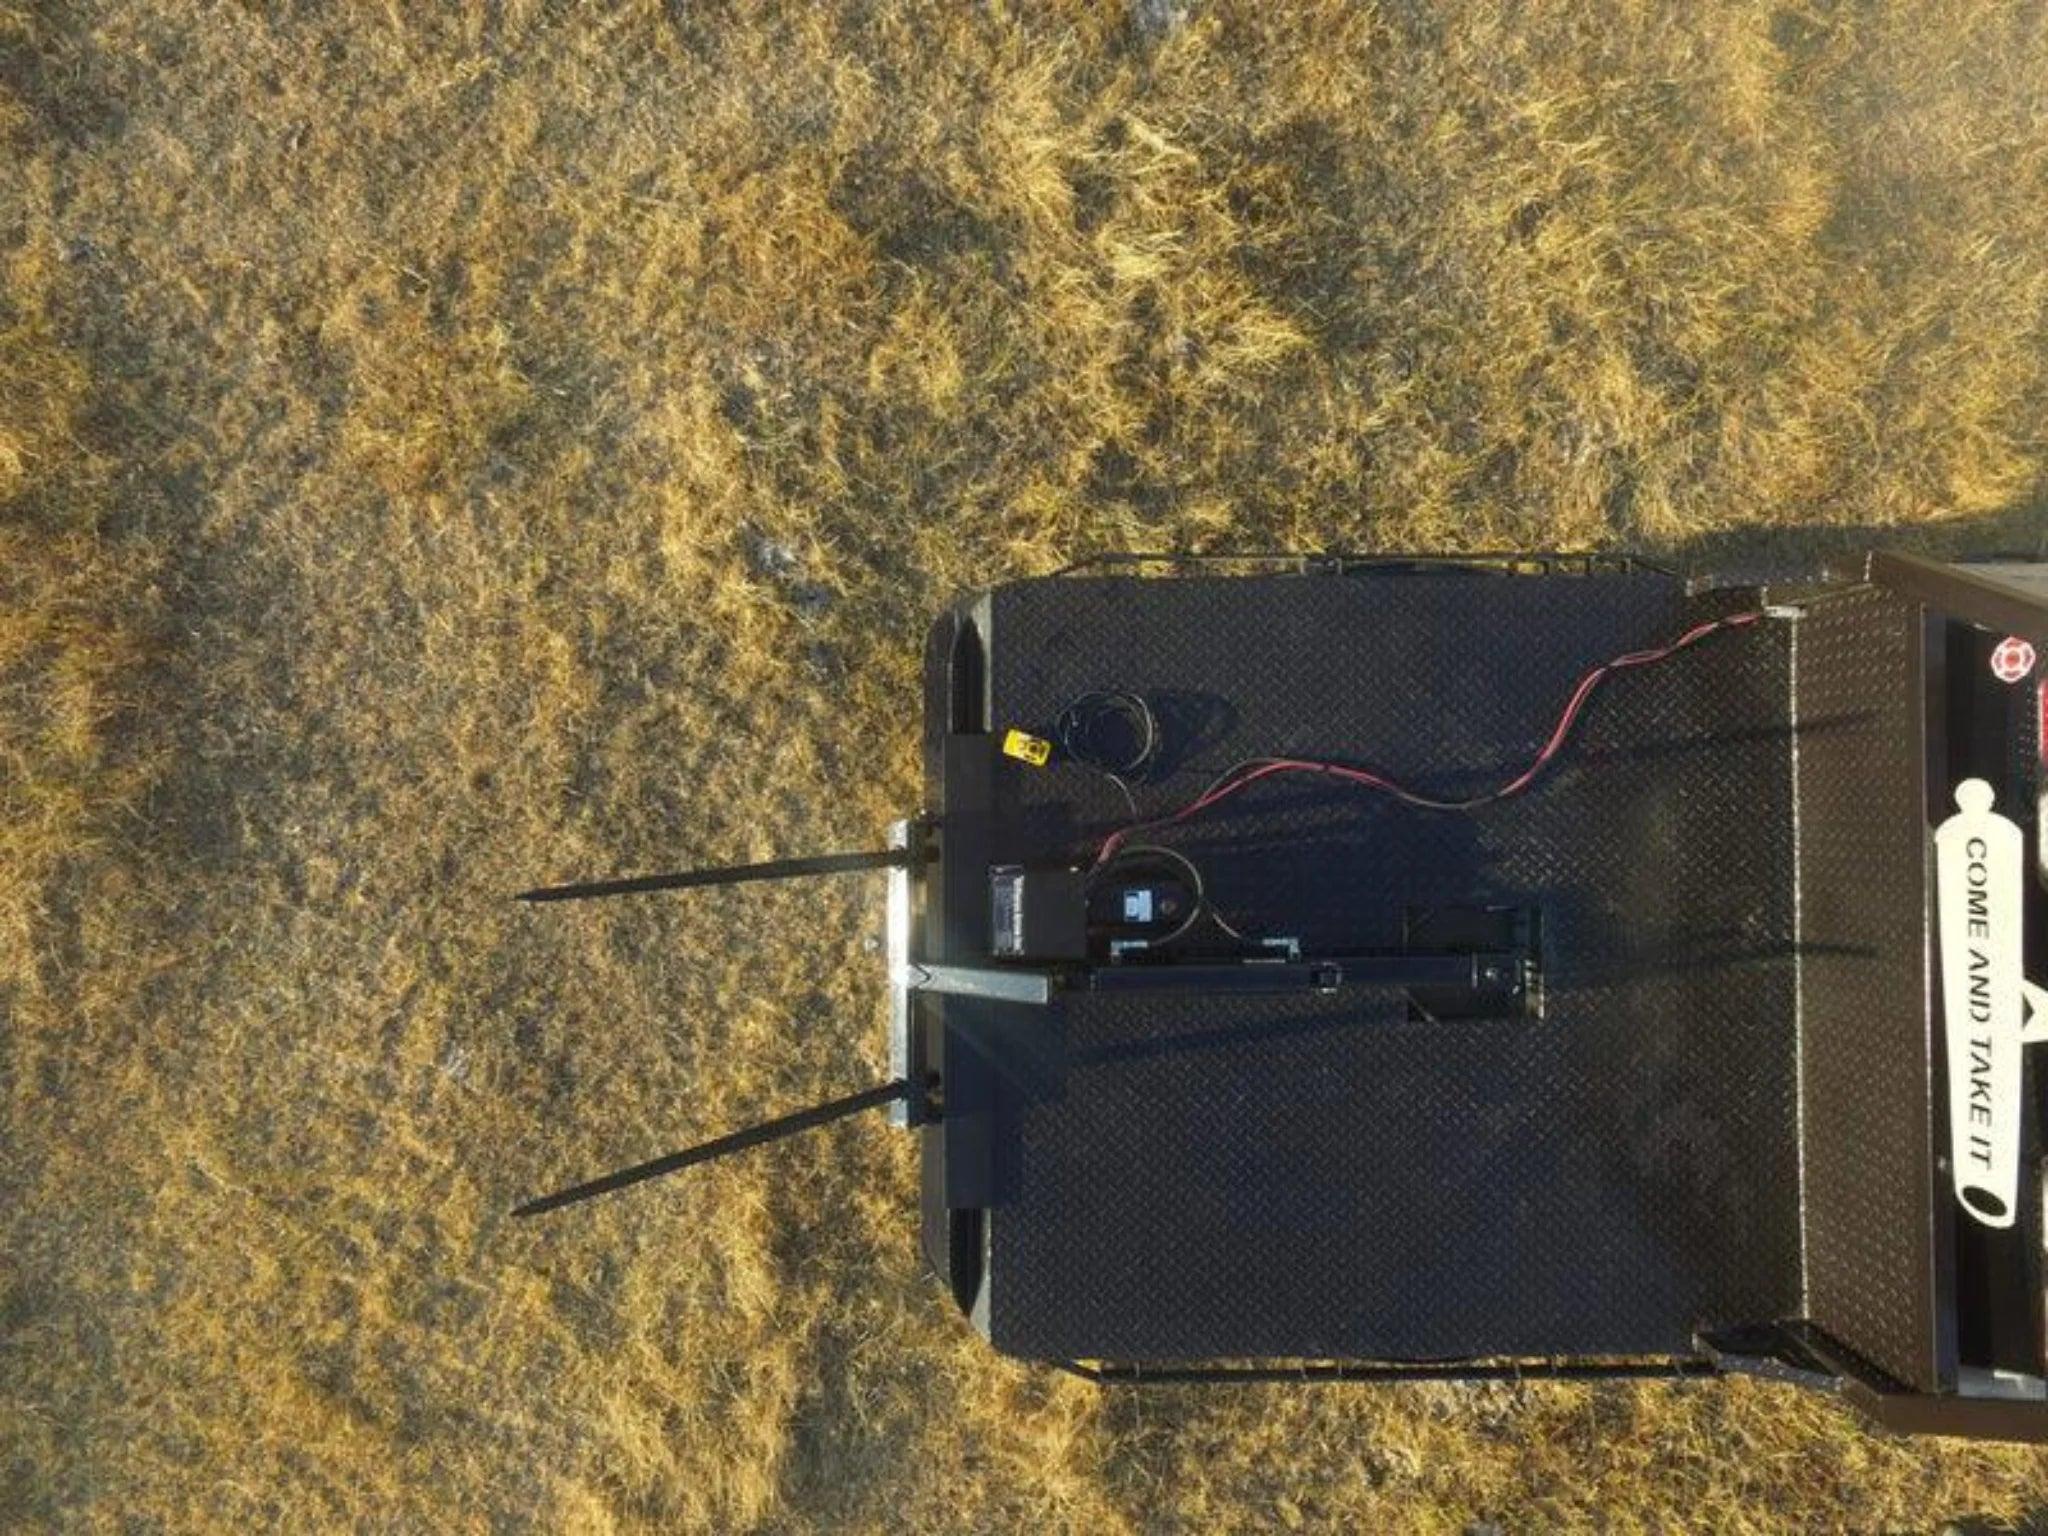
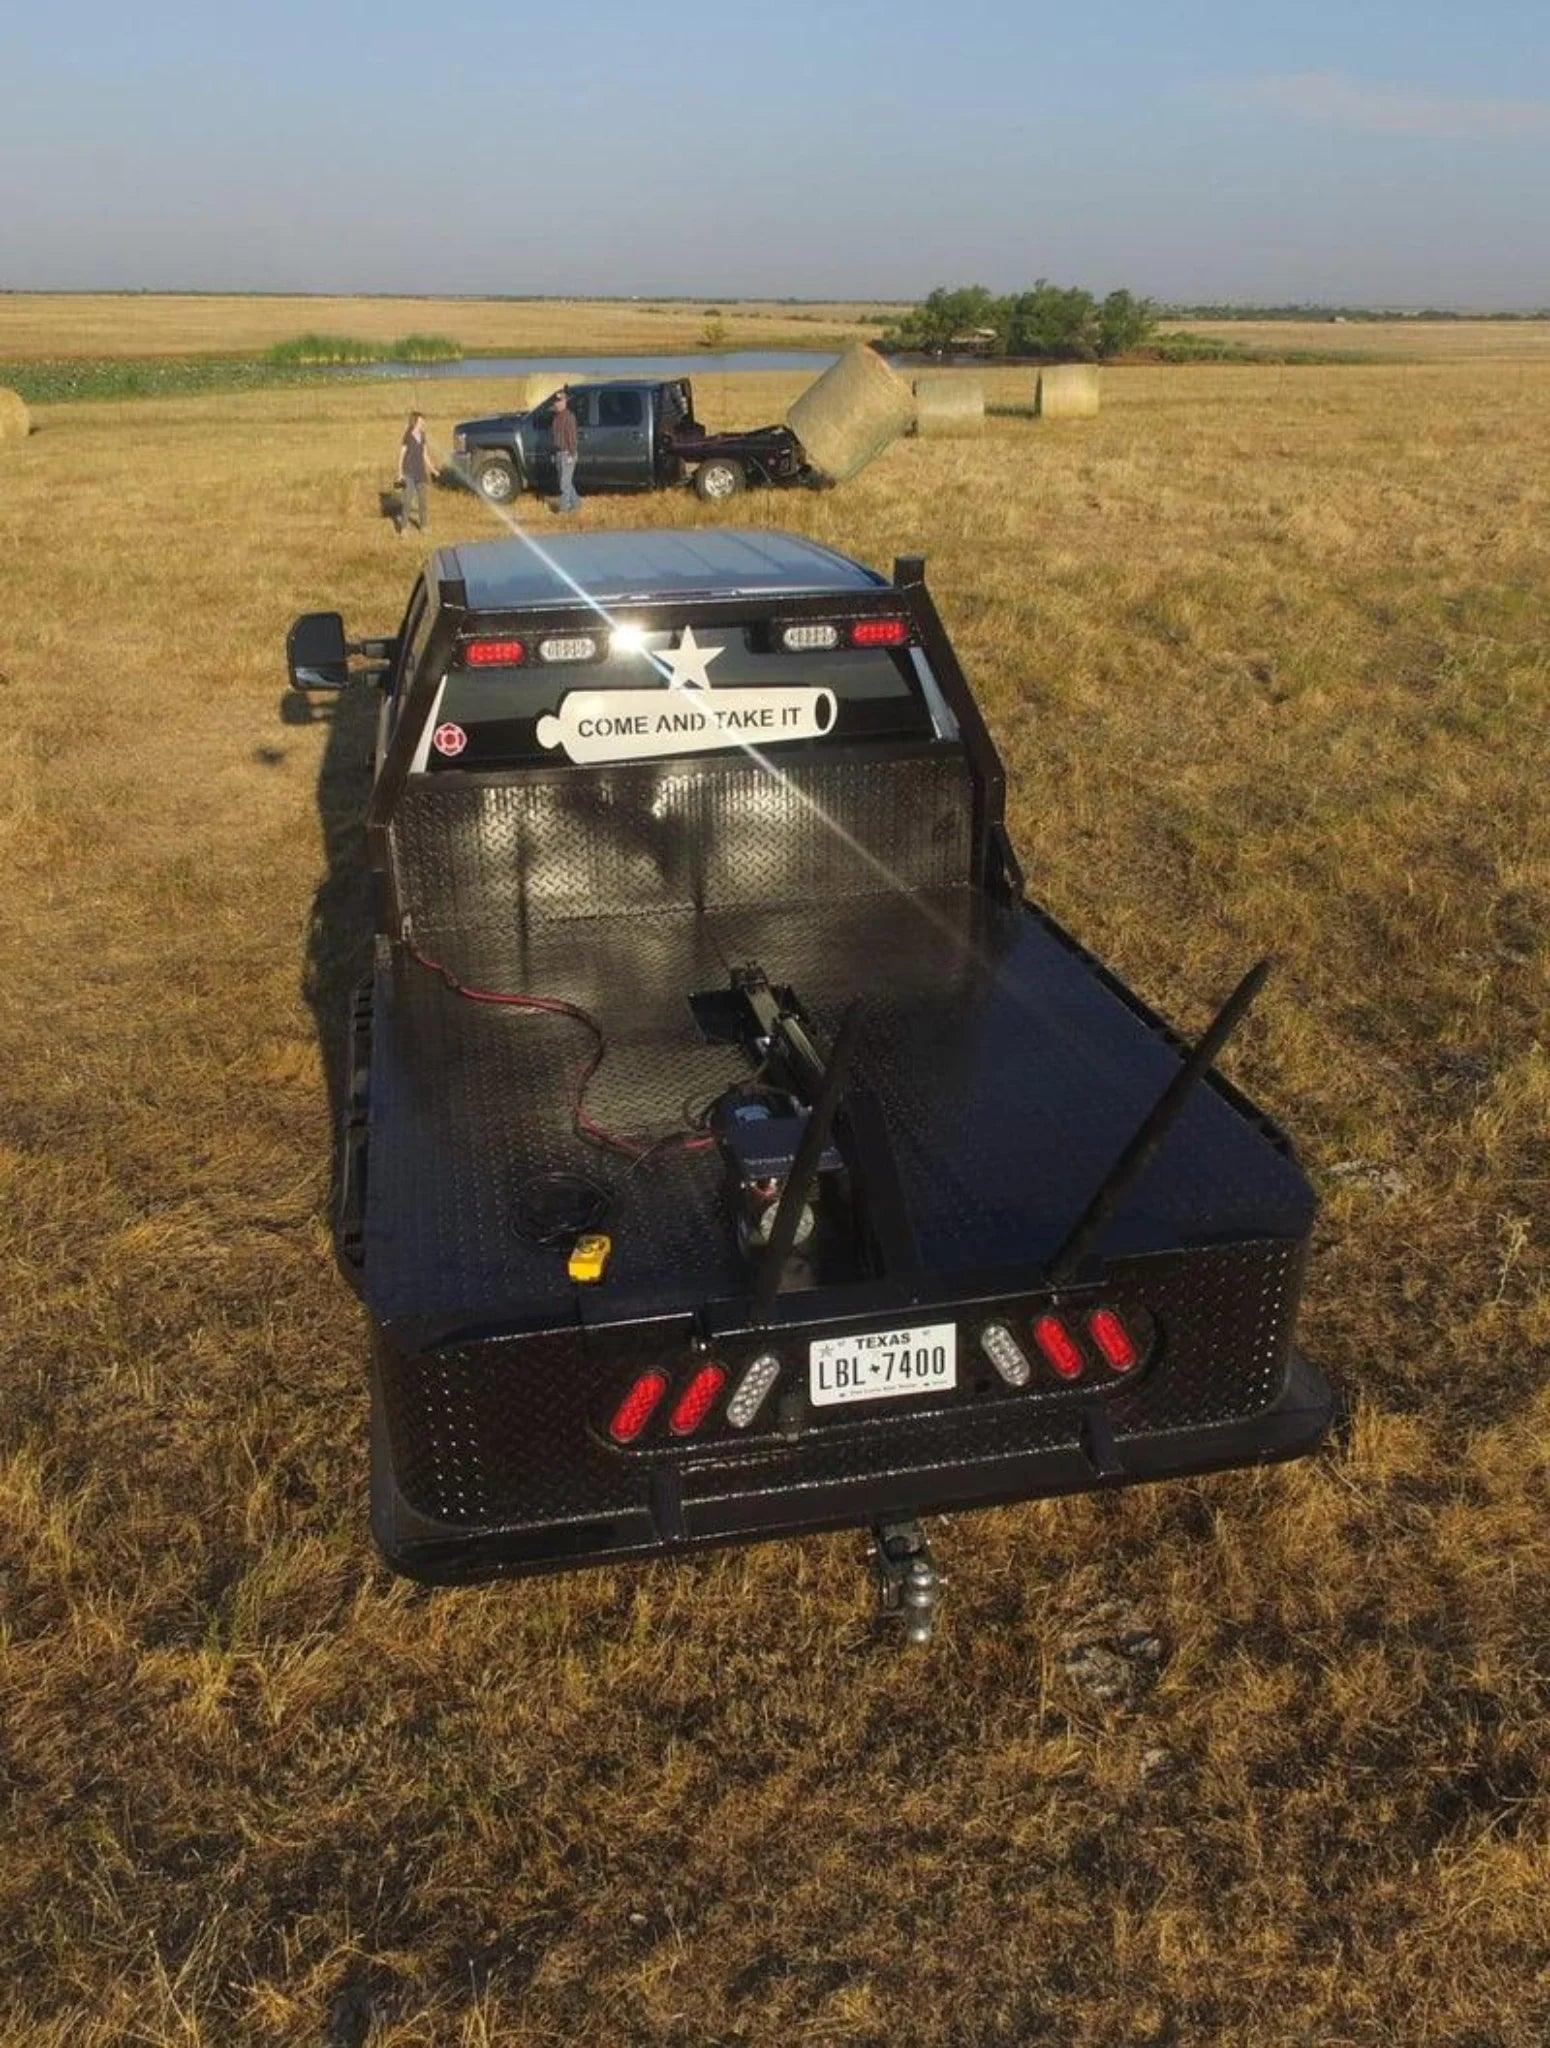
This hydraulic bale spear is built with a sturdy metal frame and two robust tines, ensuring secure lifting and transport of large hay bales. The self-contained 12V hydraulic pump (power up/power down) provides smooth, dependable operation, while the 20-foot water-resistant remote with magnetic mounting allows easy control from your truck’s cab. Unlike a tractor, this spear lets you feed cattle from inside your truck, keeping you comfortable in cold or wet conditions. The gooseneck mount design allows quick removal, preserving your truck’s versatility for other tasks.
Key Features
- High Capacity: Lifts large hay bales with a 3,000 PSI hydraulic cylinder and 2,500 lb. capacity.
- Flexible Mounting: Easily mounts over a 2-5/16" gooseneck ball and can be removed when not in use.
- User-Friendly Operation: Comes with a self-contained hydraulic pump that connects to your vehicle’s battery, plus electrical quick disconnects and a 200-amp breaker for safety.
- Convenient Design: Removable spears allow you to switch tasks quickly, and the remote simplifies bale handling from inside the cab.
- Durable Construction: Backed by a two-year warranty covering mechanical, electrical, and hydraulic components.
How It Saves Time
The PIERCE Truck Bed Gooseneck Hay Bale Spear streamlines hay bale transport and feeding. Its hydraulic system ensures fast, precise handling, whether you’re loading bales onto a trailer or distributing them in a field. The removable design makes it easy to switch between bale handling and other truck tasks, while the durable build minimizes maintenance. By eliminating the need for a tractor or expensive bale bed, it saves time and keeps you productive in tough weather. Enhance efficiency further with the optional PIERCE Wireless Controller to eliminate cab wiring. Furthermore, if you think you will need to pull a gooseneck trailer often, you can opt for the Bolt-in Hydraulic Bale Spear that allows you to simply remove the spears in order to hook up to your goosneck hitch.
Add the T-post Puller Attachment to make quick work of fence projects. The attachment mounts right onto your Gooseneck Hay Bale Mover utilizing the hydraulic cylinder to pull t-posts effortlessly out of the ground.
Perfect for Your Needs
Ideal for small farms or large ranches across the U.S., this truck bed bale spear is built for daily use. Measuring 64" x 62" x 30.5" and weighing 270 lbs., it’s a practical addition to any pickup truck. The gooseneck mount ensures easy installation and removal, making it a flexible solution compared to permanent bale beds. Handcrafted in Henrietta, Texas, by PIERCE, a family-owned business since 1976, this hay bale spear delivers trusted performance for working men and women.
Included
3D Model
Specifications
| Specification | Details |
|---|---|
| CYLINDER MEASUREMENTS | 3" x 16" |
| CYLINDER ROD | 1.5" |
| CYLINDER TYPE | Welded |
| HOSE CONNECTIONS | #6 SAE |
| MAX CAPACITY (LBS.) | 2500 |
| MOUNTING | 2-5/16" Gooseneck Ball |
| OPERATING VOLTAGE | 12 Volts DC |
| OPERATIONAL PRESSURE (PSI) | 2500 |
| OVERALL DIMENSIONS | 64" x 62" x 30.5" |
| RESERVOIR CAPACITY | 3 qt. |
| WEIGHT (LBS.) | 270 |
| WARRANTY | PIERCE 2 Year Warranty |
FAQs
Where are PIERCE bale spikes made?
How long does the Hydraulic Bale Spear take to lift a bale typically?
How long can I expect my PIERCE Hydraulic Bale Spear to last?
What is the difference between the Gooseneck Bale Spear (ABS1K) and the Bolt-in Bale Spear (ABS2K)?
What is the weight limit of Pierce Hydarulic Hay Bale Spears?
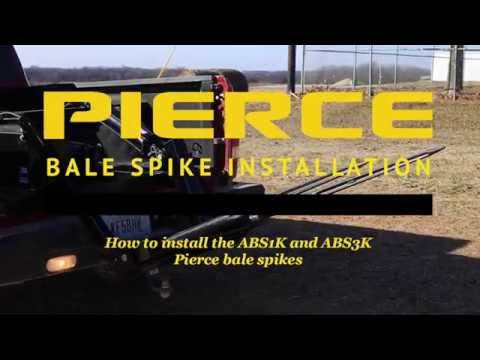
Videos
Warranty
Replacement Parts
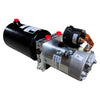
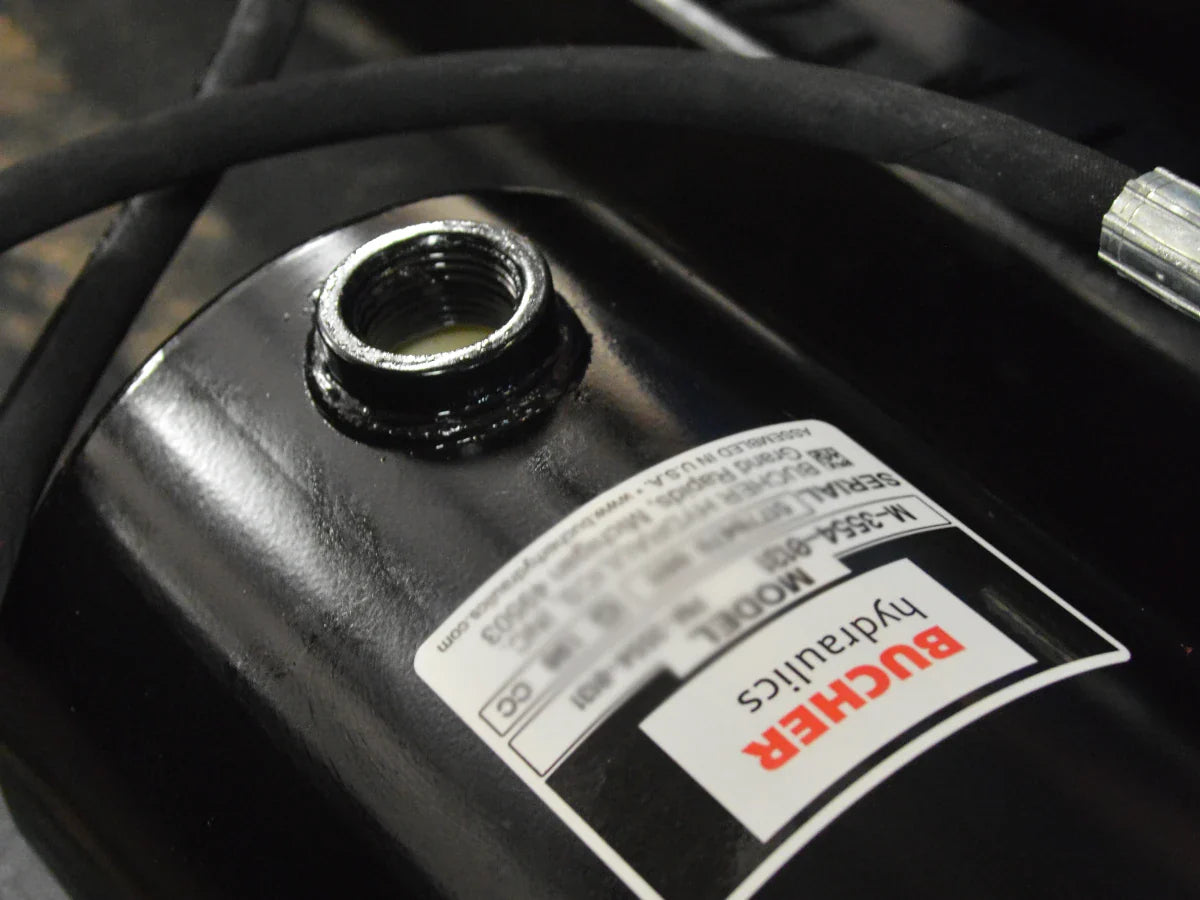
Bucher Dual Action (Power Up / Power Down) Hydraulic Pump
Power your hydraulic bale spears with the Bucher Hydraulics, Inc. Dual Action (Power Up / Power Down) Hydraulic Pump, model PM-3554-0131, a high-performance hydraulic power unit engineered for precision and durability in agricultural applications....
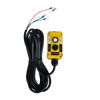
PIERCE Universal Momentary Pendant Control - 2 Button - 20ft Cord
This versatile pendant control system is compatible with 12/24V solenoid operated equipment and features 2 buttons for maximum control. It also includes a master function, making it an essential tool for hydraulic applications that require motor s...
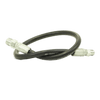
Bale Spike | Hose | 26 in | Goose Neck Attachment
26" Hydraulic Hose - This hydraulic hose for the ABS1K bale spike measures 26" and has a psi of 3,000. Single steel braided for extra strength and high quality. Chemical and abrasion resistant for years of long life. Includes 3/8" NPT male x 1/4" ...

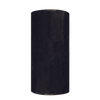
Connector | Wire | 2 Gauge
2 Gauge Wire Connector - Quick connects provide a safe power source for portable winches and booster cables. They allow convenient connection and disconnection to the battery power source. Power connections can be added to the front, rear or both ...

Forged Bale Spear
Forged Bale Spear: This PIERCE manufactured forged bale spear fits the ABS1K & ABS2K bale spikes and measures 1 and 5/8" x 47". The pin hole diameter measures 1/2." Bale spikes and spears, when used properly in pairs, with the hay bale fully i...

Pin for Bale Spear
Retaining pin for bale spear on a ABS1K and ABS2K bale spike.
Bale Spear Collar
The bale spear collar welds in to hold the spear for PIERCE bale spikes: ABS1K and ABS2K. Specifications: O/A Length (5.96") O/A diameter (2.36") ID 1.73 with 13MM pin hole located 1.30" from end.
Drop Hinge for Gooseneck Bale Spear
Ideal for trucks equipped with lifts, raised beds, or scenarios requiring 10 inches of lowered spear height. In wet seasons, when bales may sag, this drop hinge expertly positions spears to target the lower center. This model fits only the ABS1K ...
4 Gauge Wiring Harness
The 4 gauge wiring harness is a replacement harness for the PIERCE hydraulic bale spikes. There are three standard variations in length, from 8 ft to 25 ft. Each comes with a quick disconnect attachment for powering your hydraulic pump.